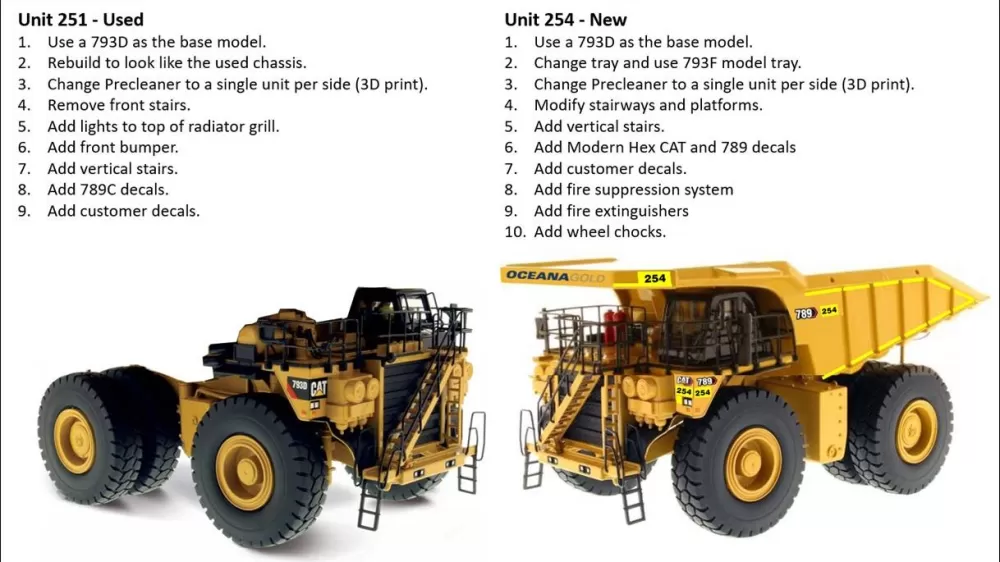
In this "Making-of Caterpillar 789C & 789 "OceanaGold" Mining Trucks" we will show how these two custom models will be achieved.
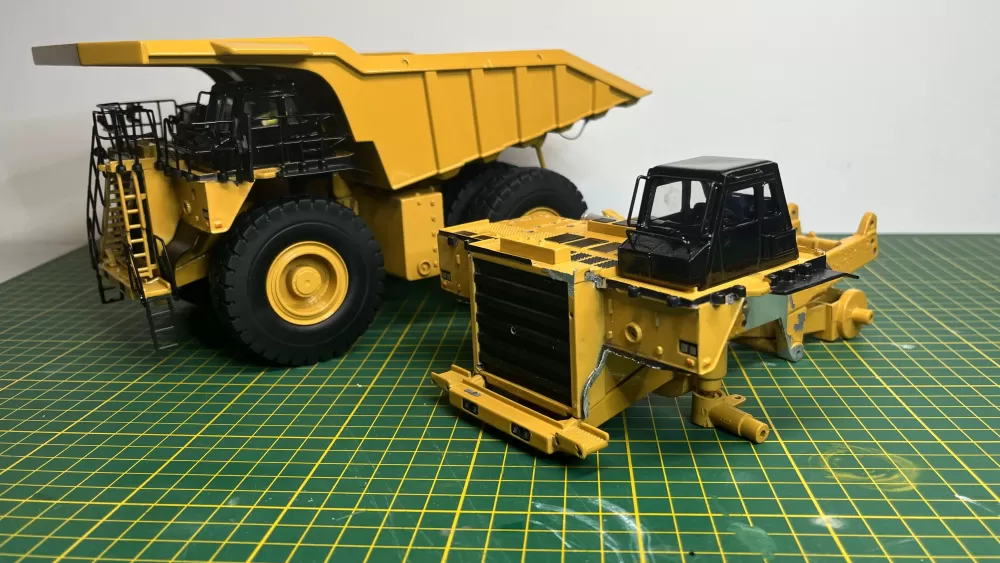
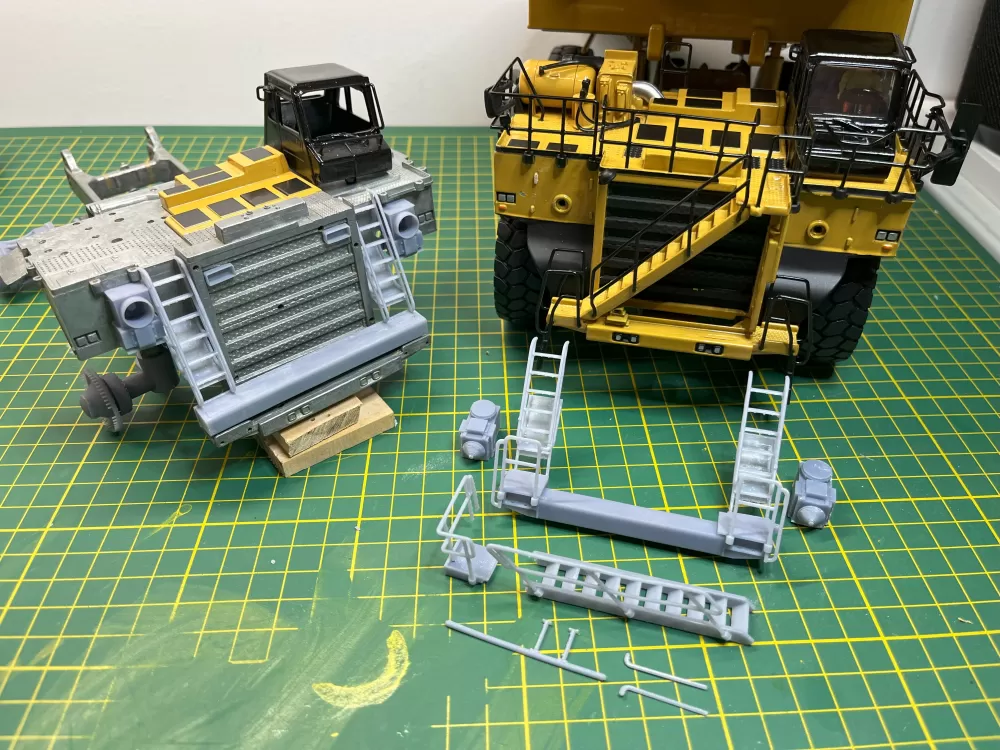
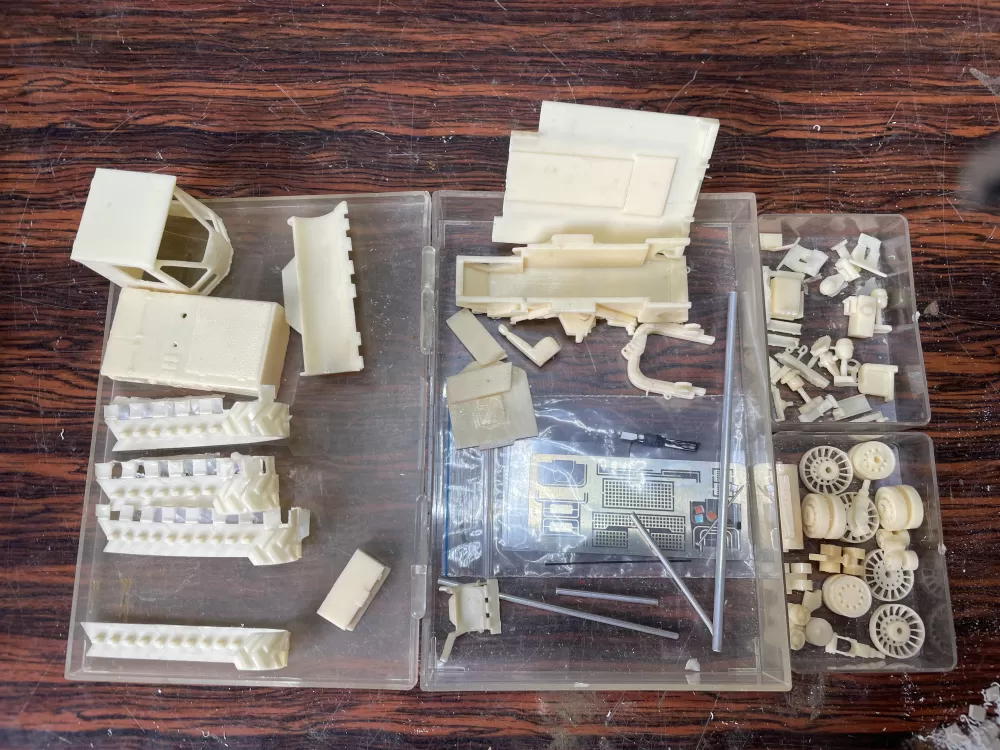
Tim shares his building skills through the photos with little notes guiding us in the construction process. Gradually it shows the making of two unique models by using the two donor Caterpillar 793D Mining Trucks from Diecast Masters in 1:50th scale to create his one of kind Caterpillar 789C & 789 "OceanaGold" Mining Truck set"
Enjoy reading & watching!
Tim and Wouter
What preceded
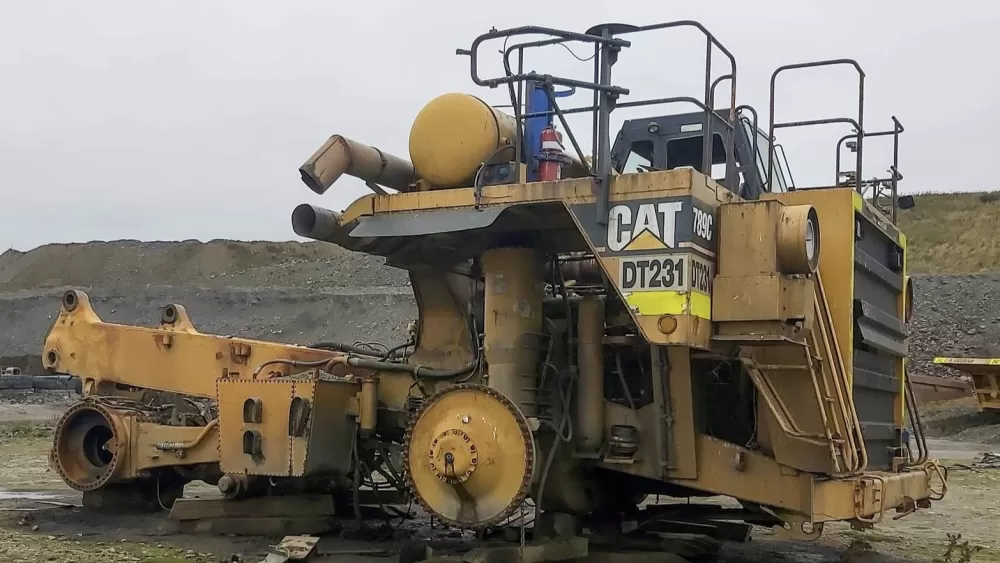
In 2023 Terra Cat asked Tim to produce a set of Caterpillar 789 Mining Trucks scale models for their customer OceanaGold Corporation. He was aked to replicate the Caterpillar 789C Mining Truck #DT231 decommissioned chassis
(truck originally delivered in 2002) and the full certified rebuilt Caterpillar 789 "Next Gen" Mining Truck #DT254.
This was not a simple project as a Caterpillar 789 base model does not exist (yet-)), the
closest was a Diecast Masters Caterpillar 793D base model. Hence the project involved
converting two Caterpillar 793Ds to 789s then constructing the old DT231 chassis and the
new DT254 truck.
The Kickoff
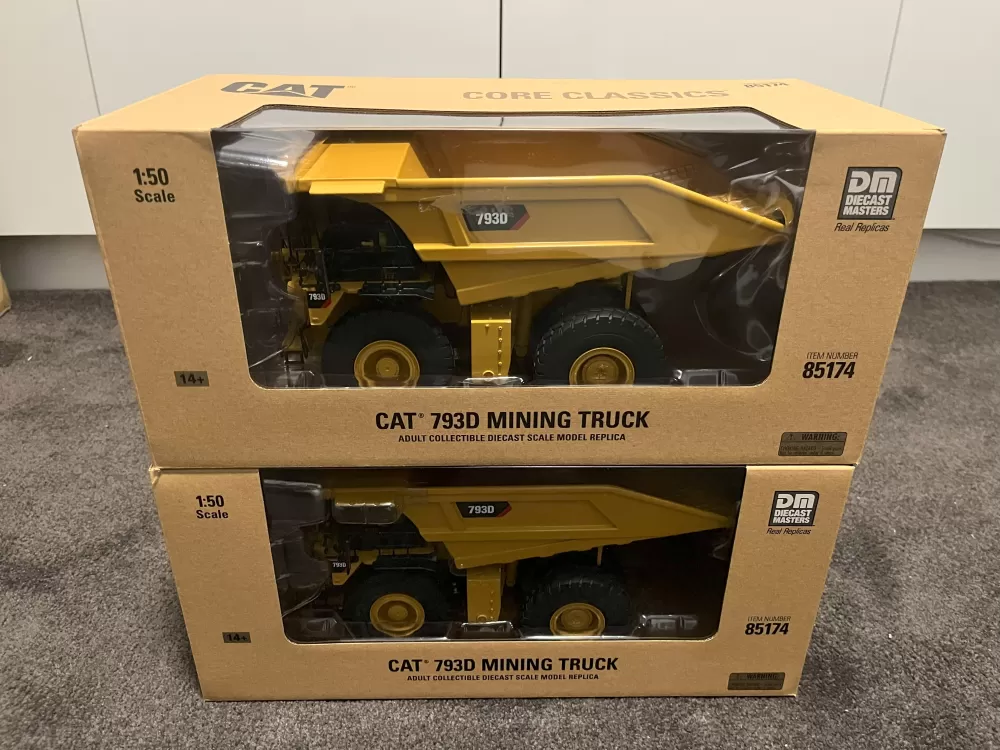
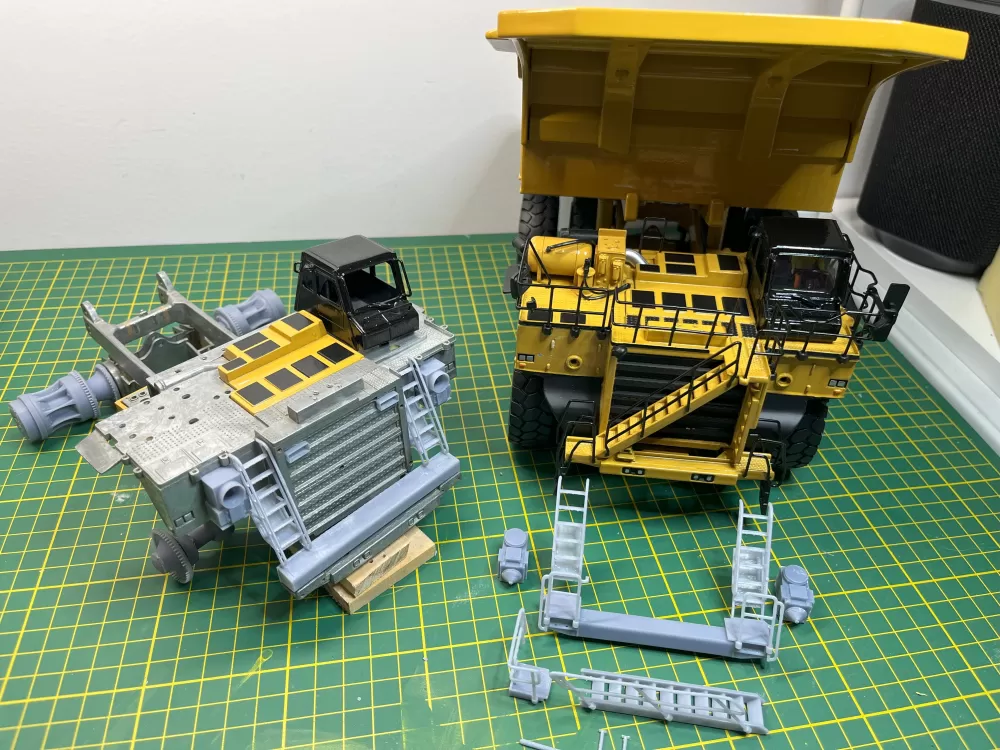
Tim started with the purchase of two 1:50th scale Caterpillar 793D Mining Trucks from the "Core Classics Series" #85174 made by Diecast Masters. Of these, he could only use the chassis and partial upper bodies but this forms the solid basis for the start of his project.
In order to manage the entire project for both models properly, Tim made a plan of approach for himself with the most important conversions, renovations and innovations so that it can almost be compared to a real Cat Certified Rebuild -)
Below is a summary of
some of what Tim actually did to produce these two models:
DT231 CHASSIS:
1. Original model
disassembled. Unneeded parts removed.
2. Stripped paintwork.
3. Cut the front bumper from the chassis.
4. Cut radiator header tank from the top deck and filled.
5. Cut out front panels of the cab.
6. Modified handrails on deck.
7. Filled the rear A-frame.
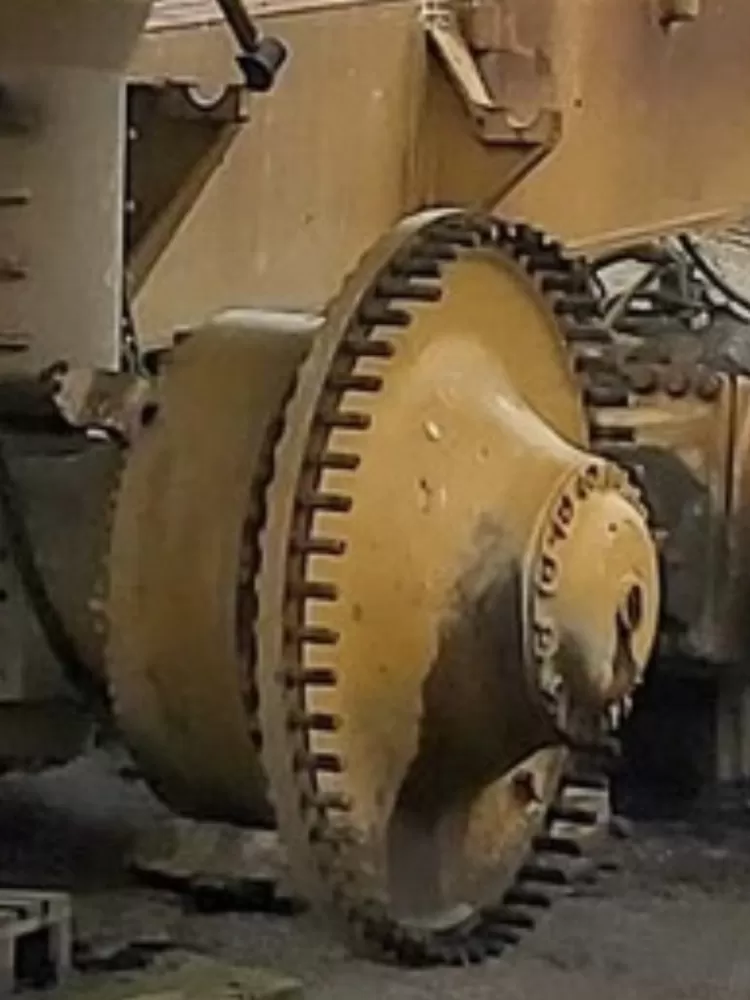
8. 3D printed front wheel hubs.
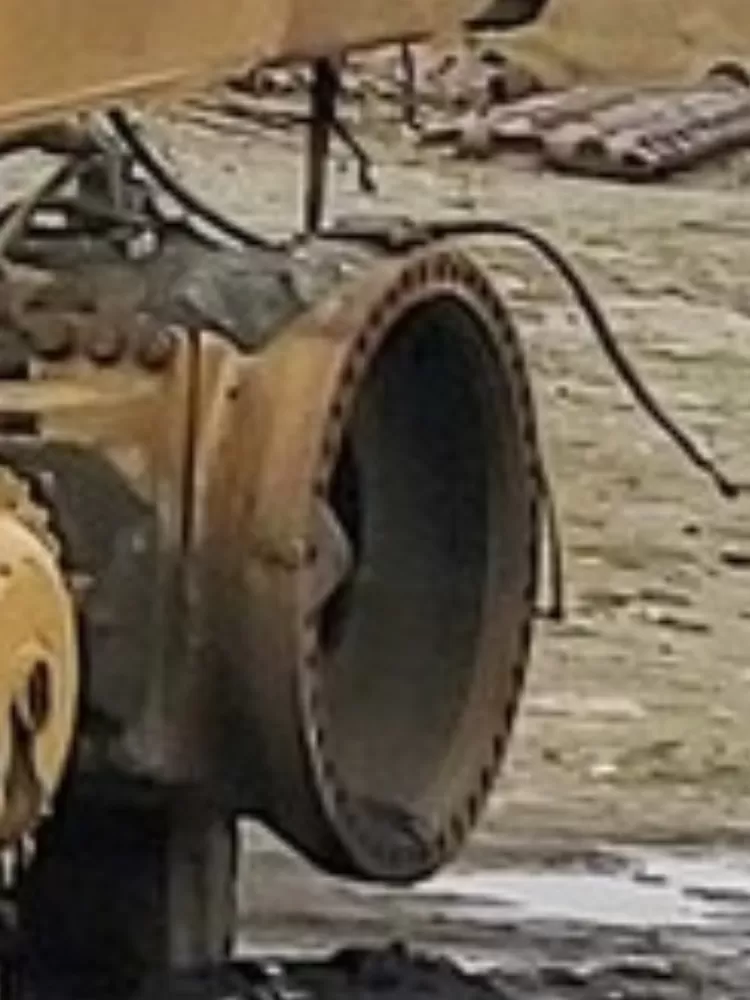
9. 3D printed rear final drives.
10. 3D printed exhaust outlets.
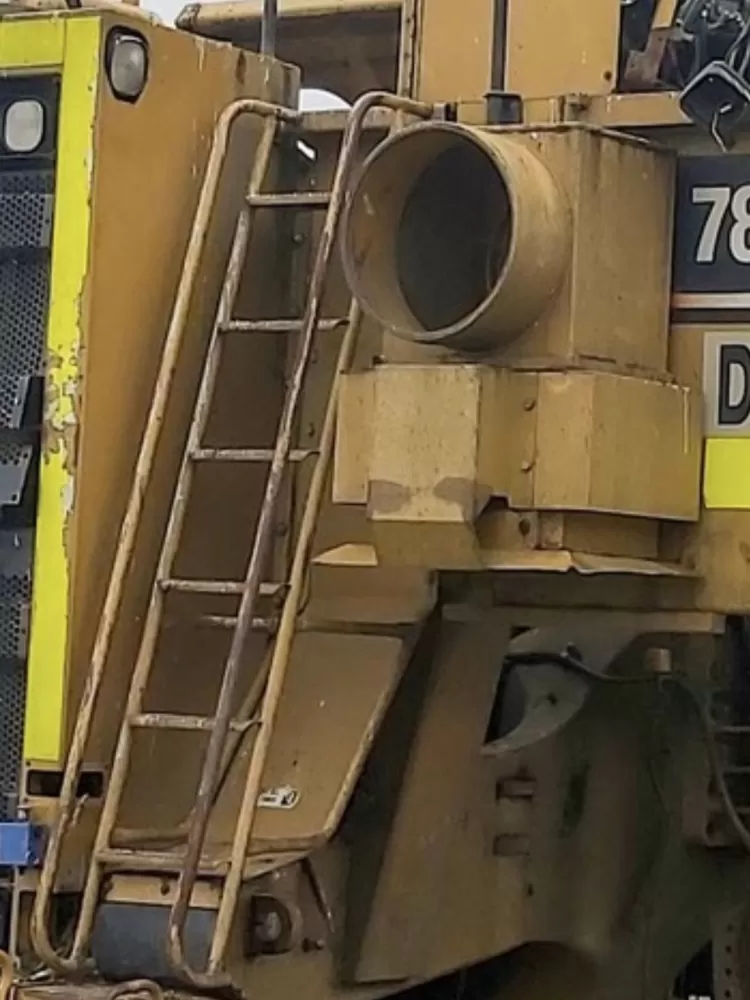
11. 3D printed precleaners.
12. 3D printed front bumper.
13. 3D printed boarding stairs.
14. 3D printed front tow hooks.
15. 3D printed front light boxes.
16. 3D printed body lift cylinder pivots.
17. Added new front facia.
18. Added fire suppression tank support.
19. Added fire extinguisher.
20. Added stairs from top deck to chassis.
21. Added wiring in the front of the cab.
22. Created the cracked window in cab.
23. Airbrush painted all parts to original CAT colours.
24. Reassembled the model.
25. Created all decals in a weathered look and added to the model.
26. Added weathered hi-vis tape where needed.
27. Painted with a clear matt finish to make the model dull for the weathering
process.
28. Weathered the model and loose parts and components using grease, dust and
oil stain paints.
29. Added rust on the exhaust and even bird mess all over the model
particularly the cabin.
DT254 CERTIFIED REBUILD
TRUCK:
1. Original MSD body
replaced with X-Body.
2. Original front wheel hubs removed.
3. Cut the front bumper from the chassis.
4. Cut radiator header tank from the top deck and filled.
5. Modified handrails on deck and added new kick board across the top deck.
6. Fabricated new handrails for top deck.
7. 3D printed the front wheel hubs.
8. 3D printed the exhaust outlets.
9. 3D printed the precleaners.
10. 3D printed the front bumper with boarding platforms and hand railing.
11. 3D printed vertical boarding stairs.
12. 3D printed 45deg boarding stairs, handrails and top platform.
13. 3D printed front tow hooks.
14. 3D printed unit numbers for radiator.
15. 3D printed wheel chocks.
16. 3D printed new lights for front bumper.
18. Added new front facia.
1
9. Added 2x 110L fire suppression tanks.
20. Added 3D printed fire extinguishers.
21. Added stairs from top deck to chassis.
22. Added new front mud flaps.
23. Added mud flaps to tray.
24. Airbrush painted all parts to original CAT colours.
25. Detail painted areas of the model.
26. Created all decals and hi vis tape to replicate livery.
3D Design and Printing
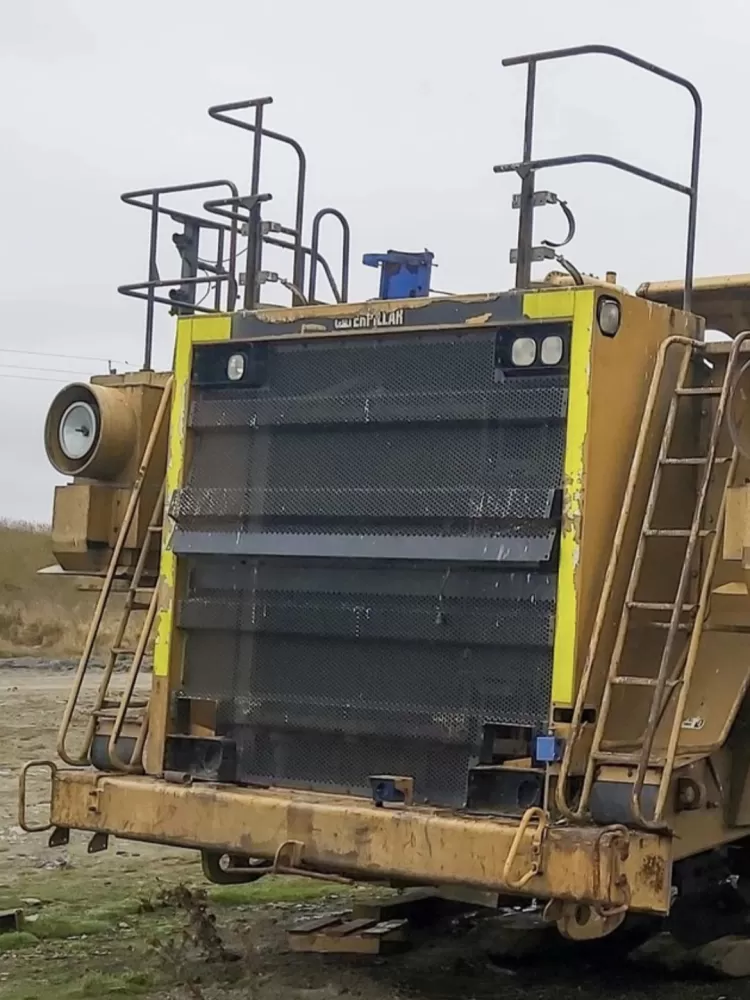
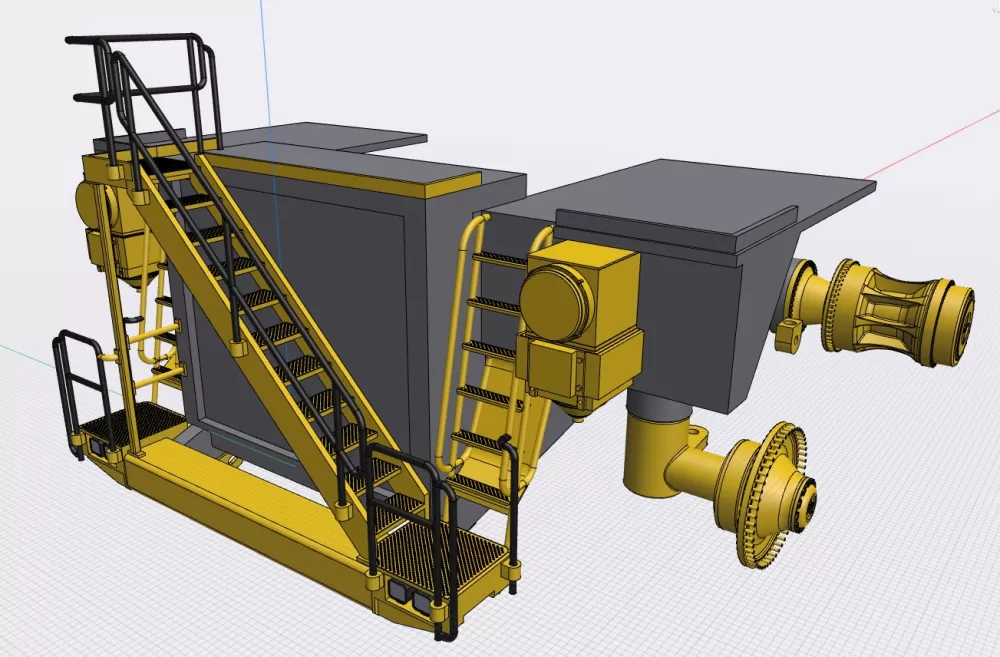
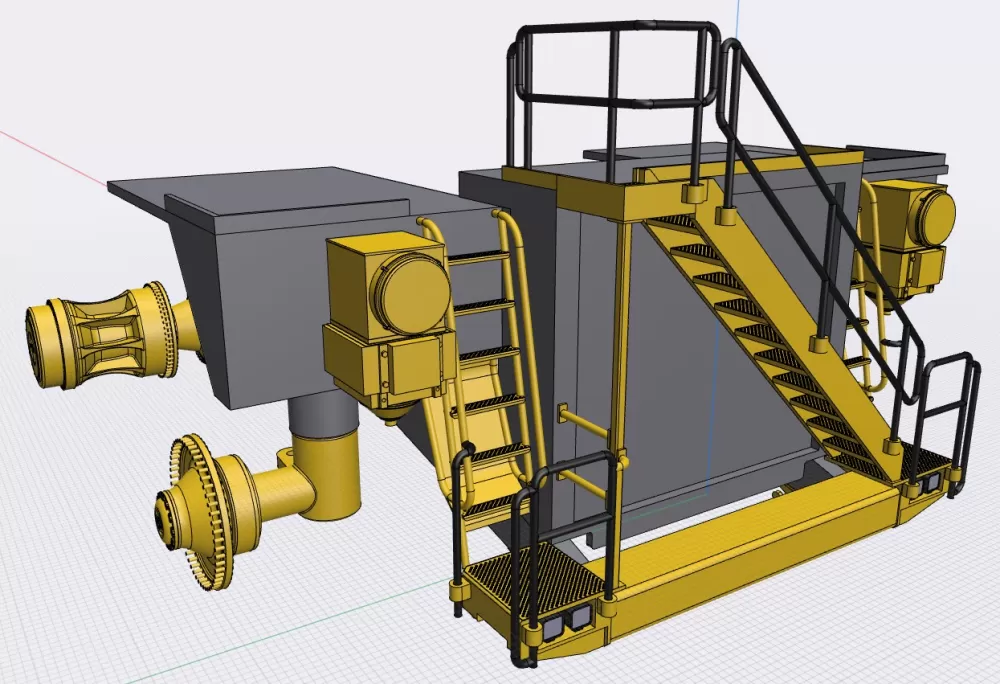
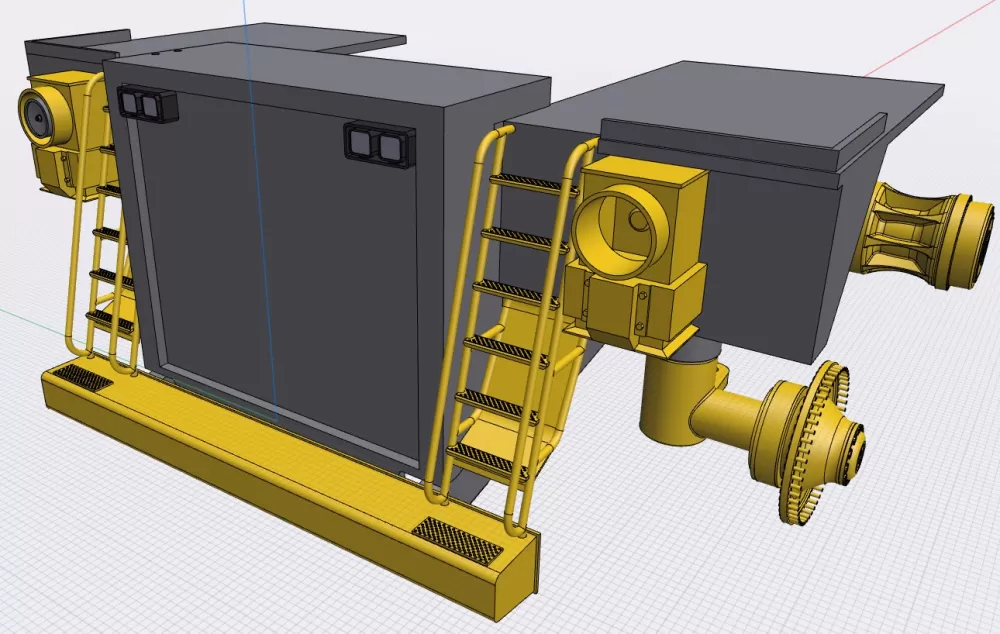
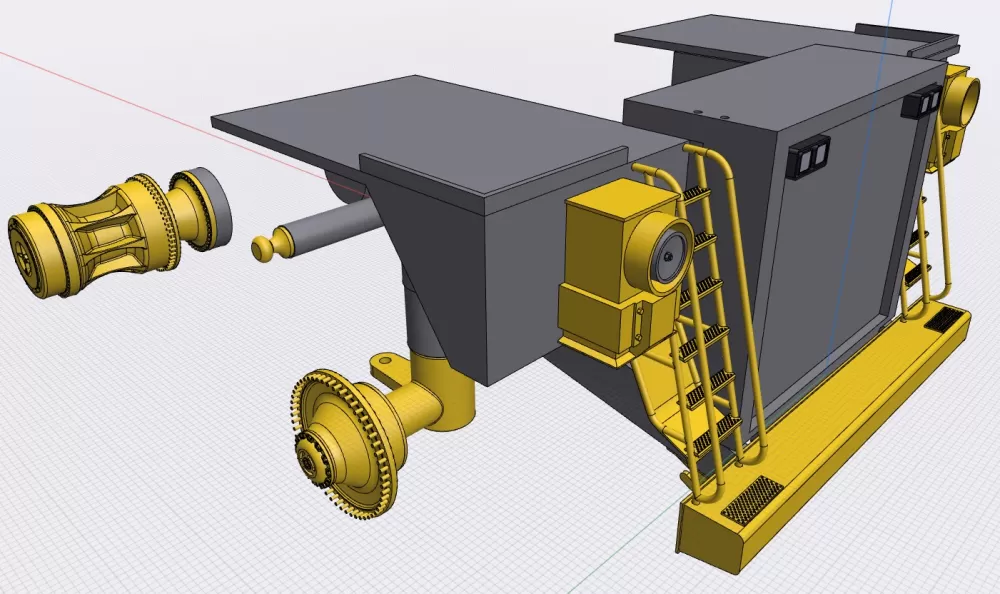
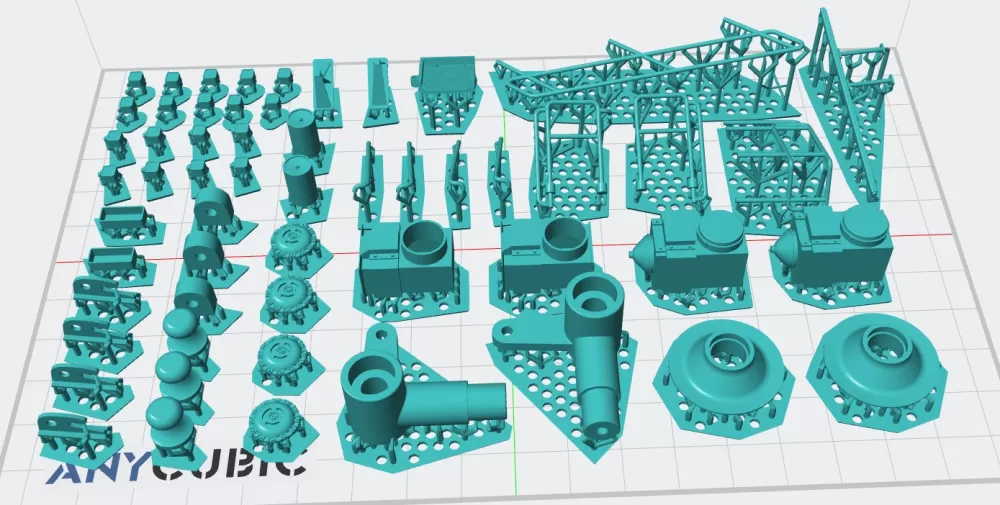
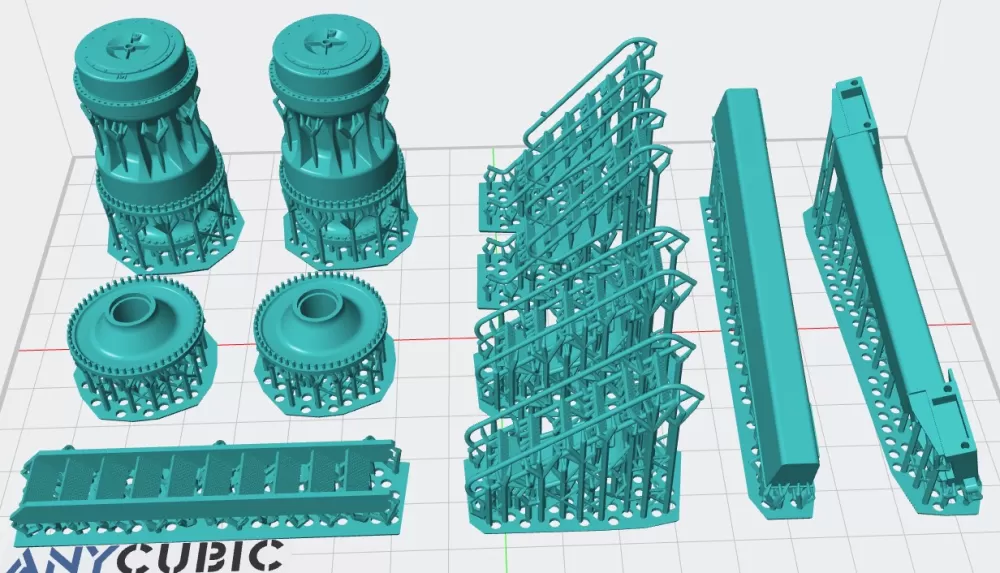
Based on photos of the 1:1 Caterpillar 789(C) Mining trucks, Tim designed and 3D printed the required parts as mentioned in both DT231 Chassis and DT254 Certified Rebuild Truck summary:
If you have the right technical information based on 1:1 photos and spec sheets & manuals and can then design, draw and print this in 3D yourself, then a lot is possible!
So, apart from the many hours work and the costs of printing, you can nowadays achieve a very nice end result by creating the missing parts yourself. Check this out:
...To be continued!


