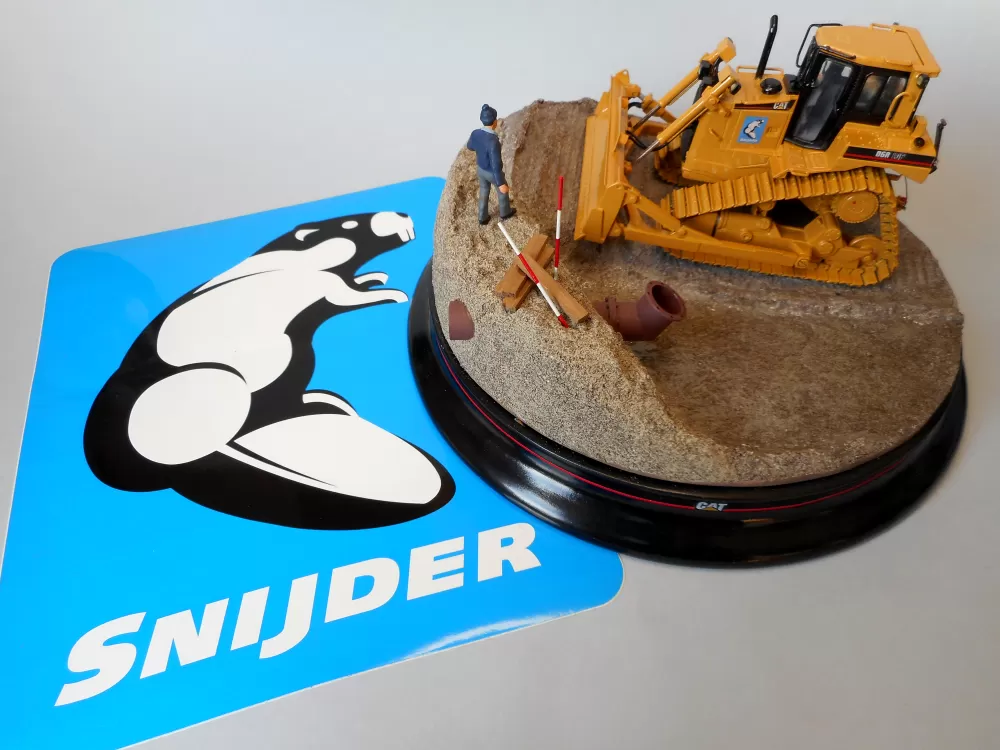
Custom scale model builder Ad Gevers has again finished a unique project by building especially on my request the:
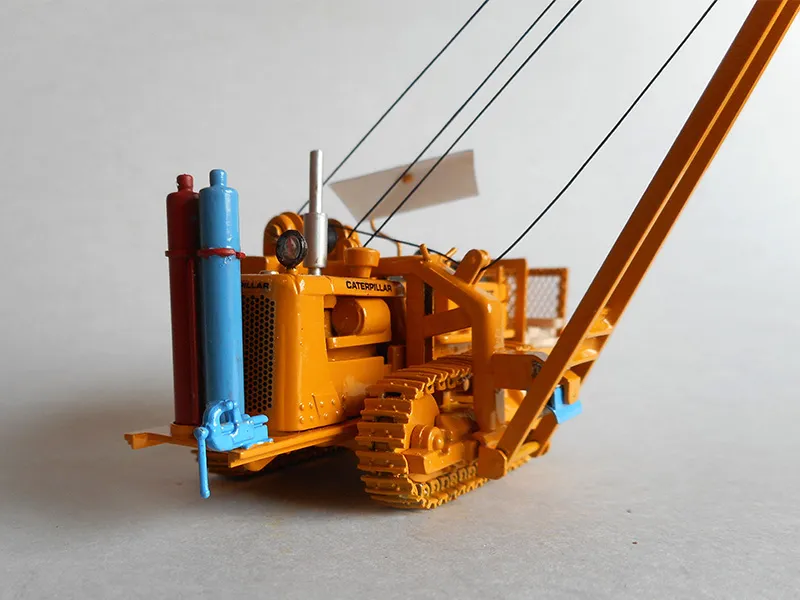
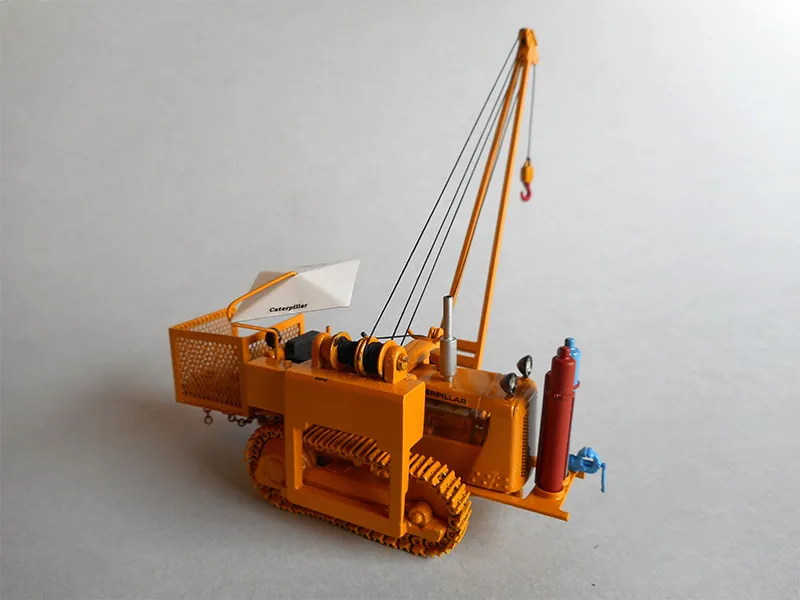
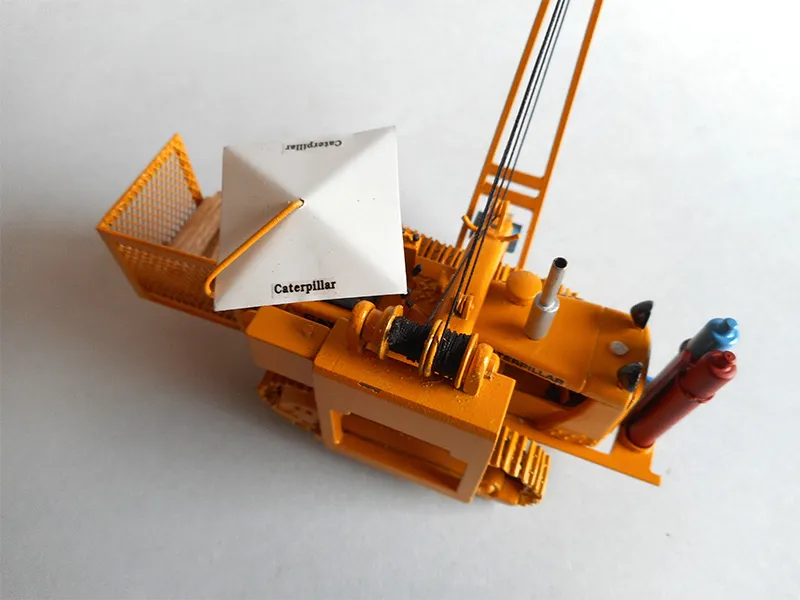
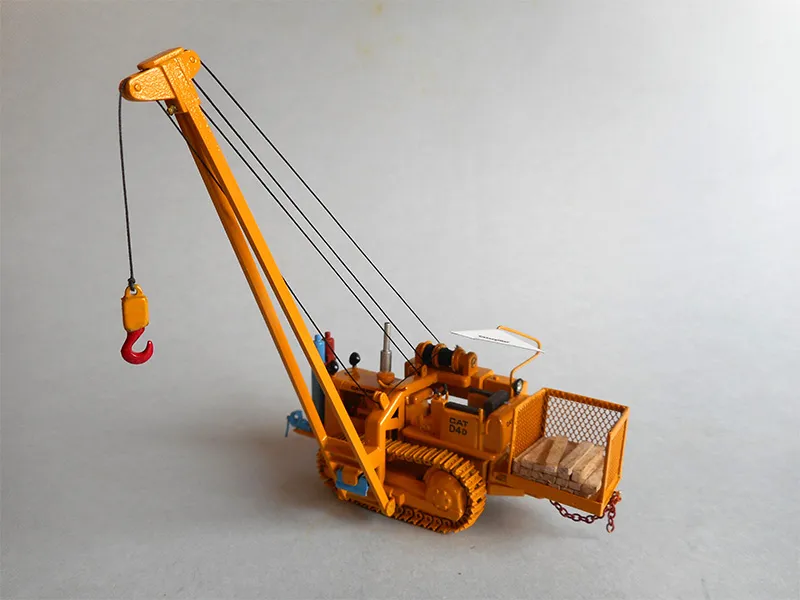
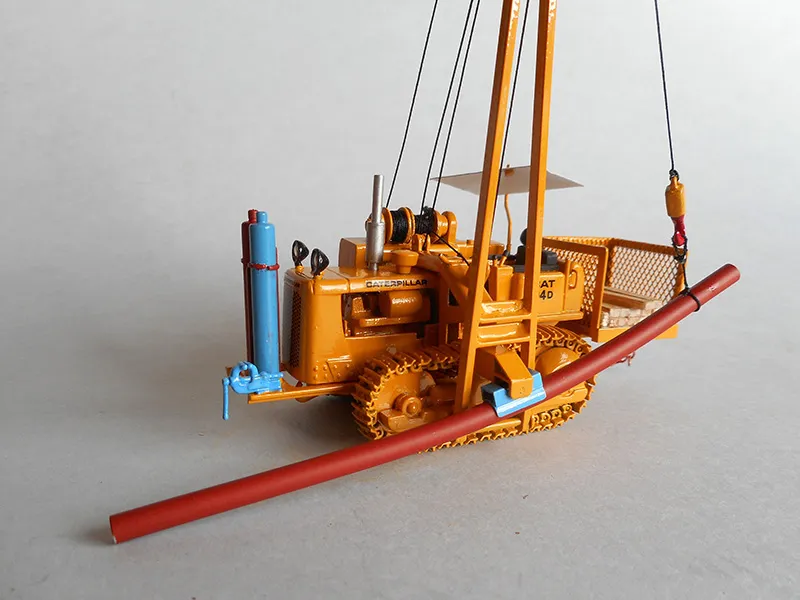
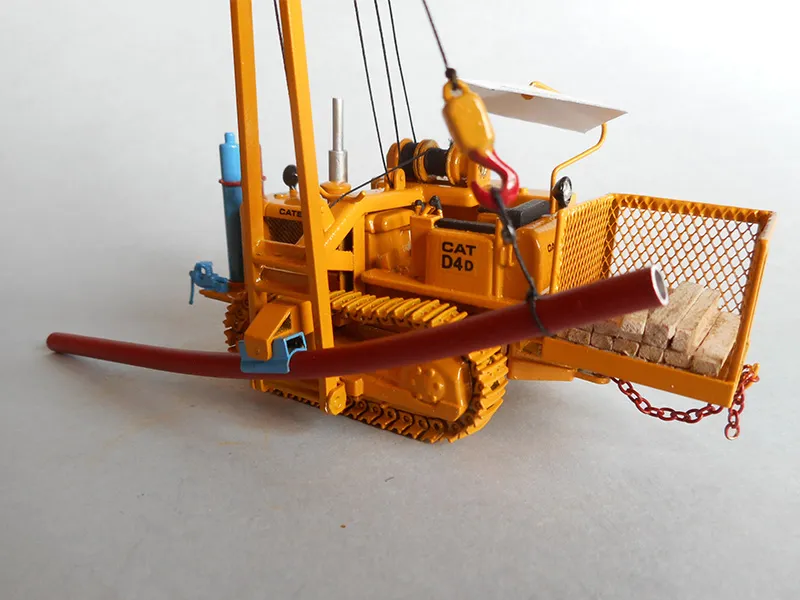
Caterpillar D4D Pipelayer
It is our goal in this Making-of Caterpillar D4D Pipelayer to show how this custom model is been achieved.
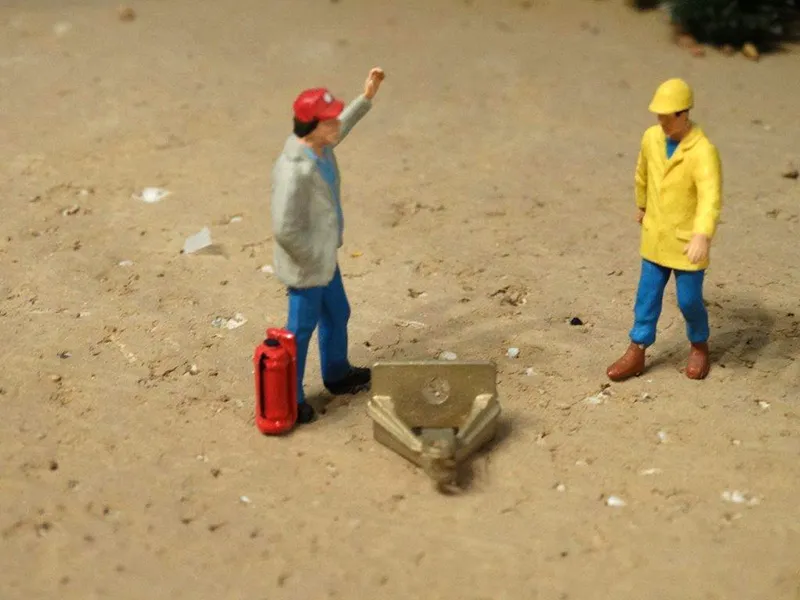
Ad Gevers, shares his building skills through the photos with little notes guiding us in the construction process. Gradually it shows the making of a unique model by using as donor model the Caterpillar D4 Track-Type Tractor made by NZG in 1:50th scale to create this one of a kind Caterpillar D4D Pipelayer and added (as he always does -)) tons of extra details including some scratch built features. But even that was not enough: He made a unique diorama which is a small masterpiece on its own. As you will see it turned into a true museum piece and a very valuable and unique addition to my Caterpillar collection!
Enjoy reading & watching!
Ad and Wouter
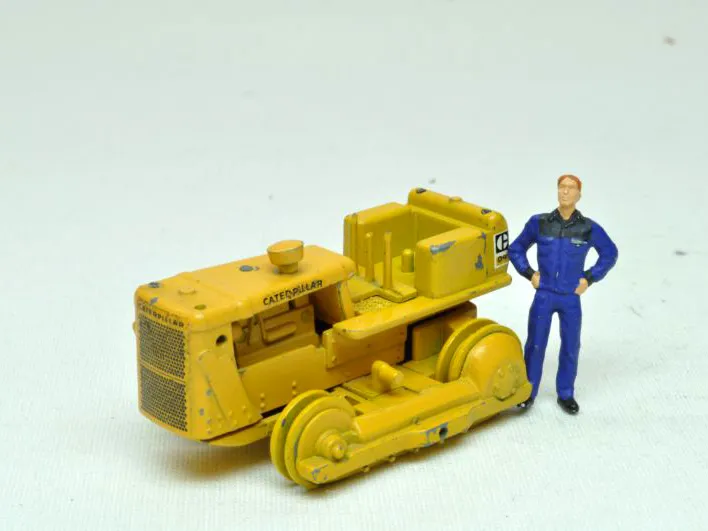
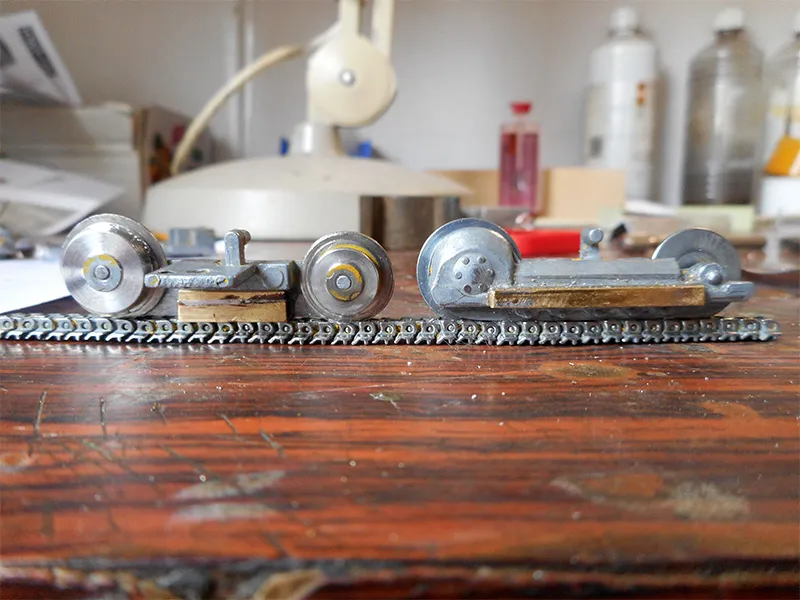
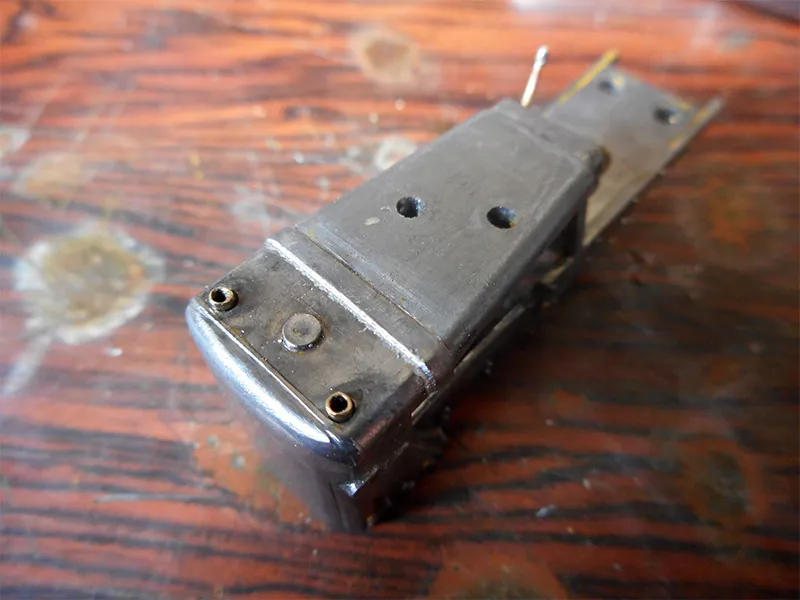
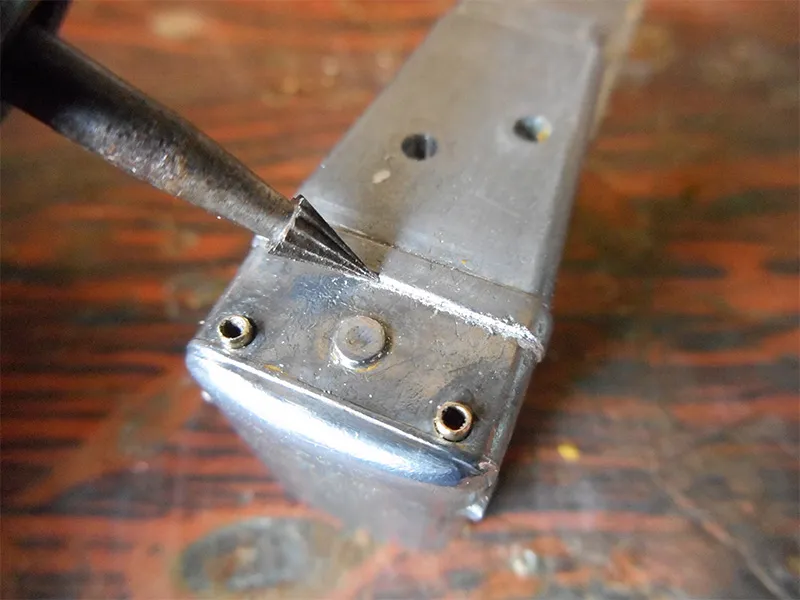
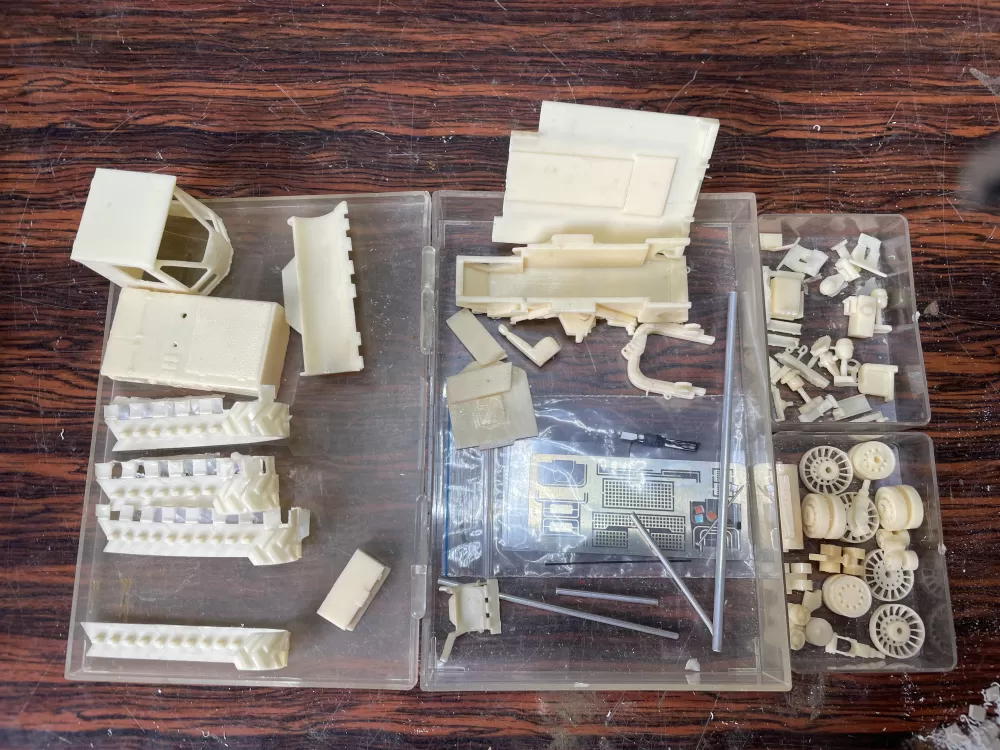
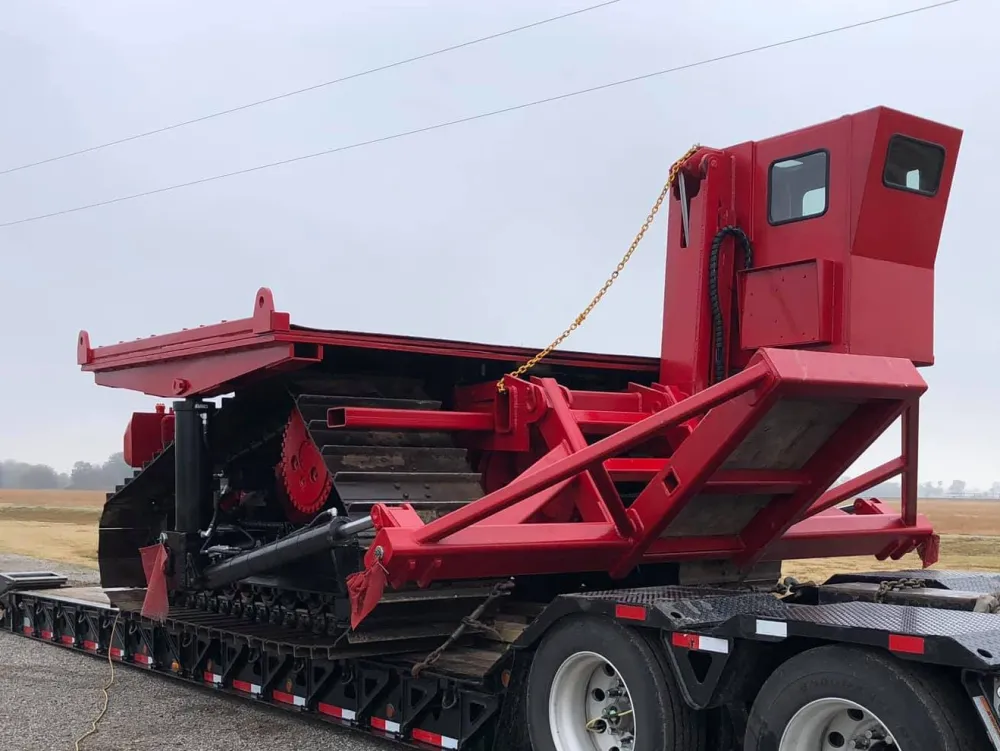
The Donor model
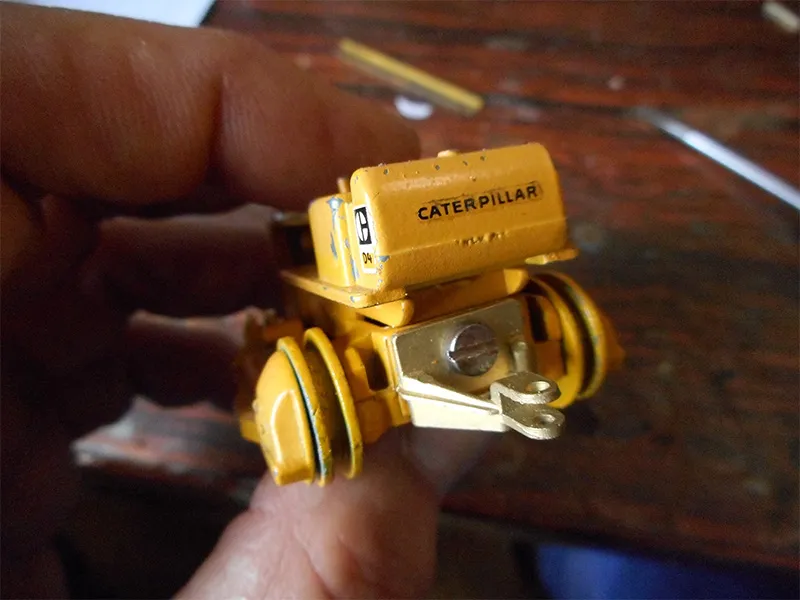
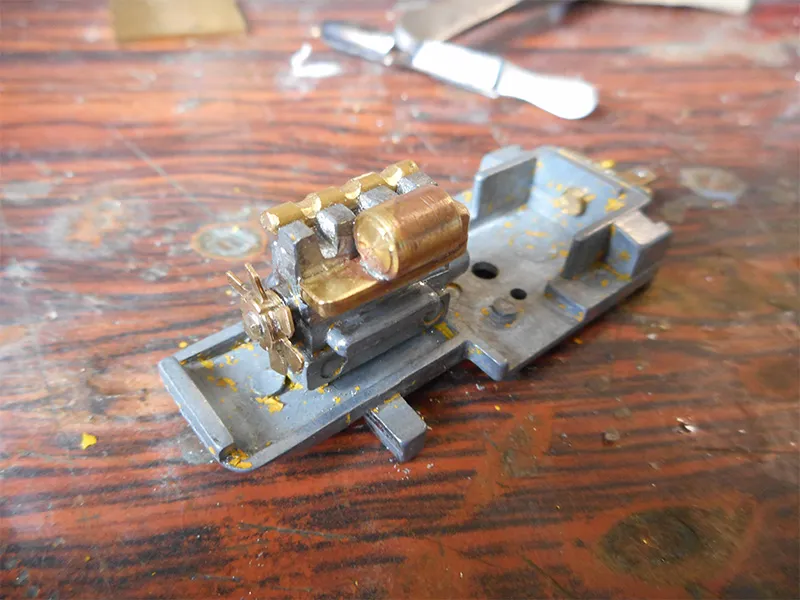
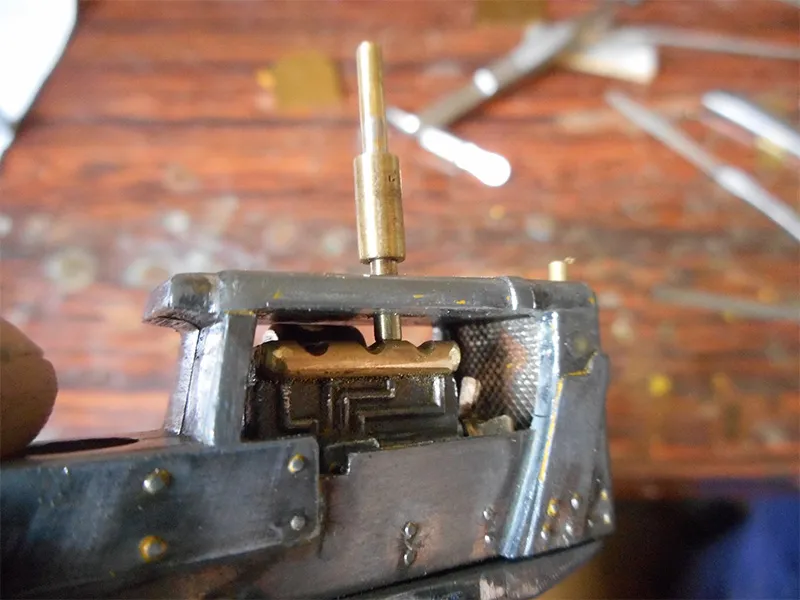
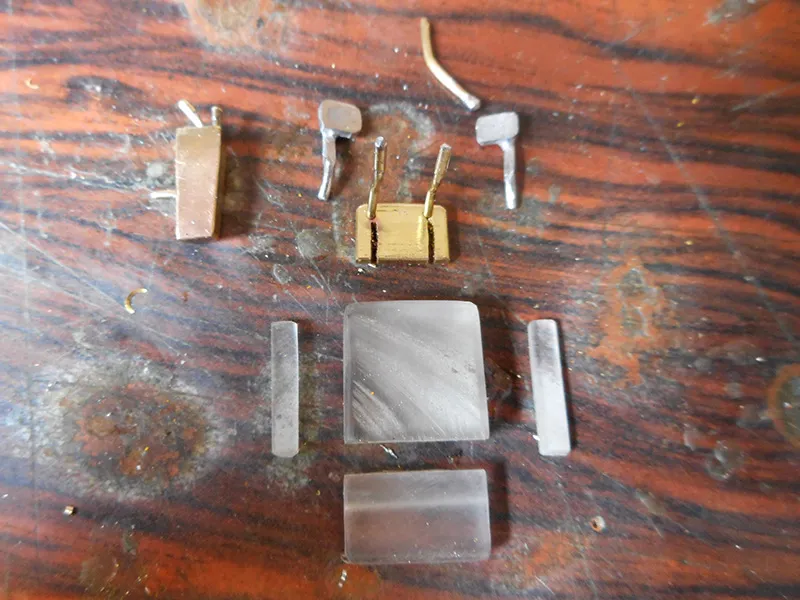
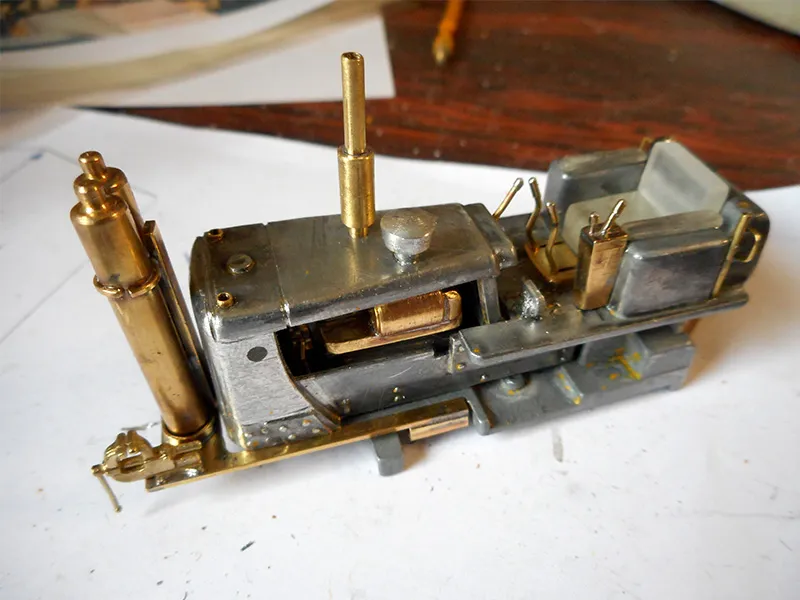
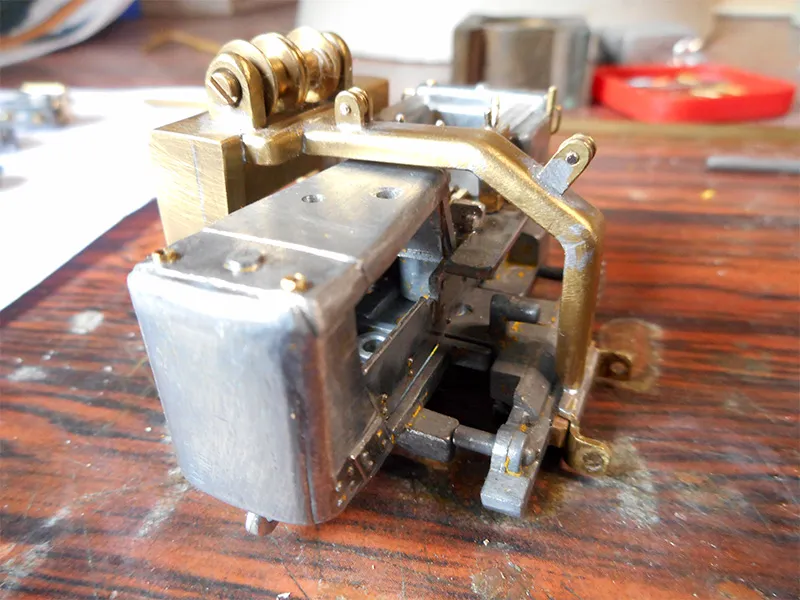
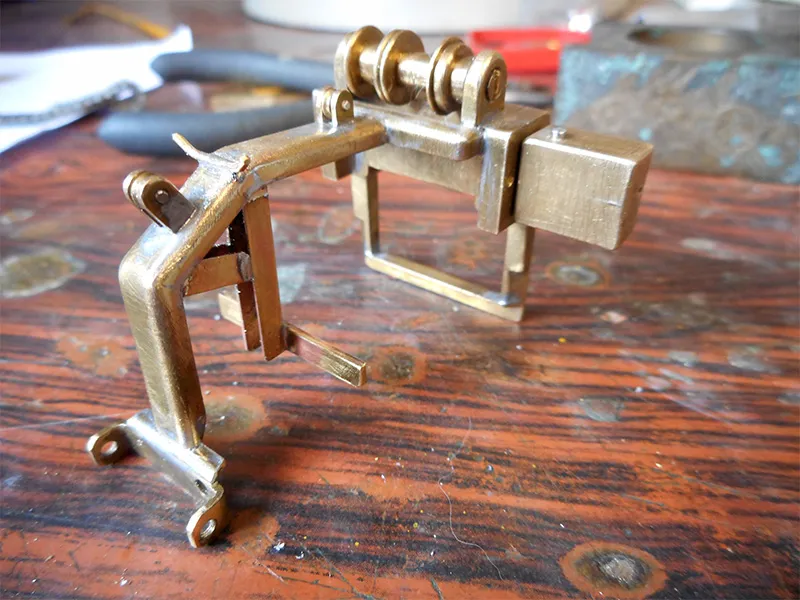
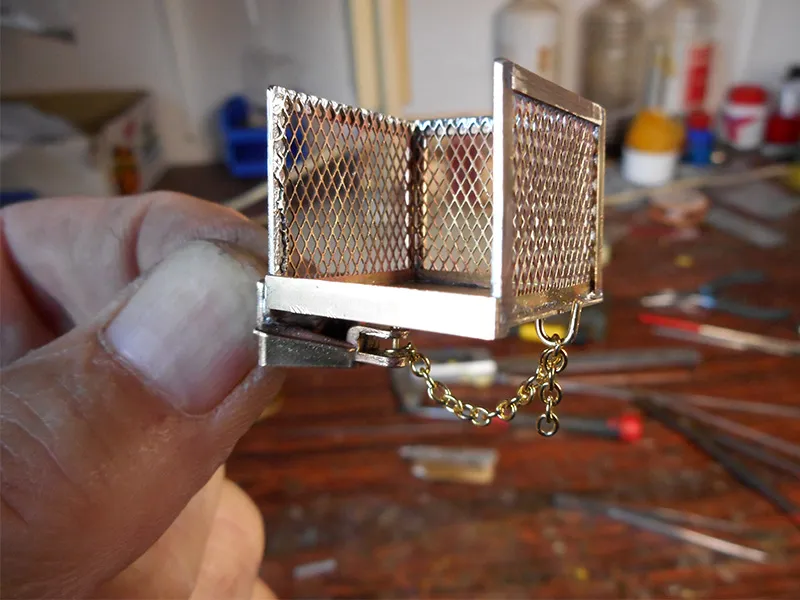
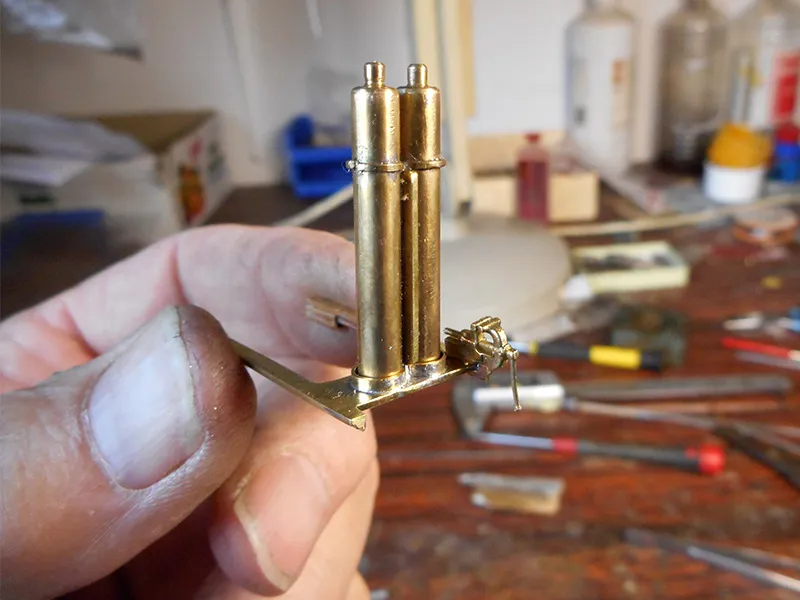
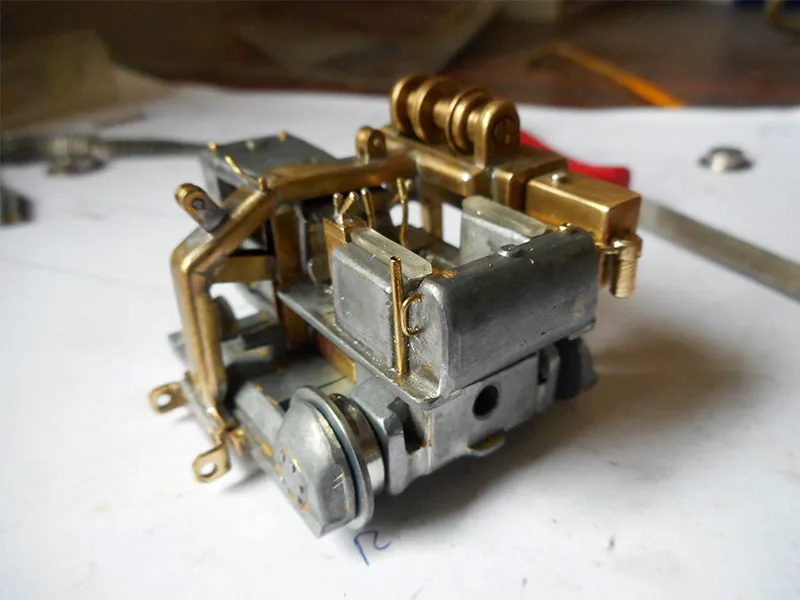
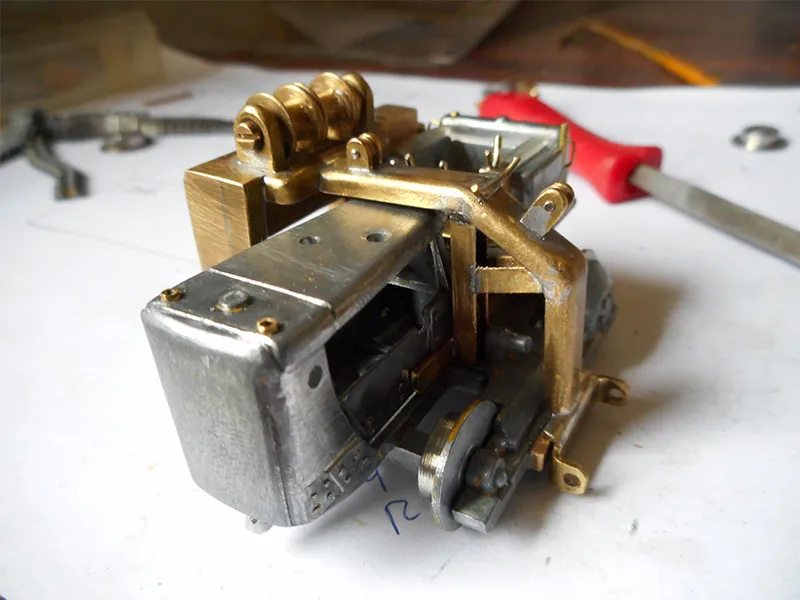
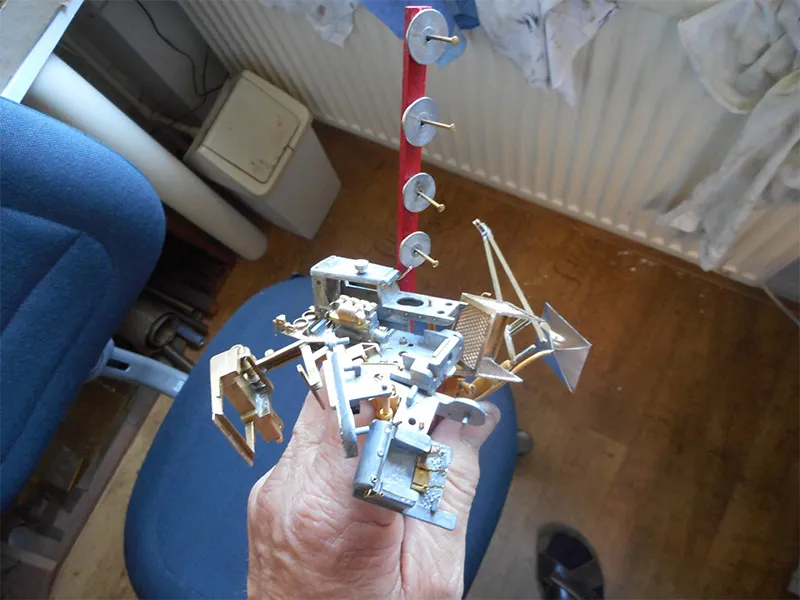
The Kickoff
The painting of the parts
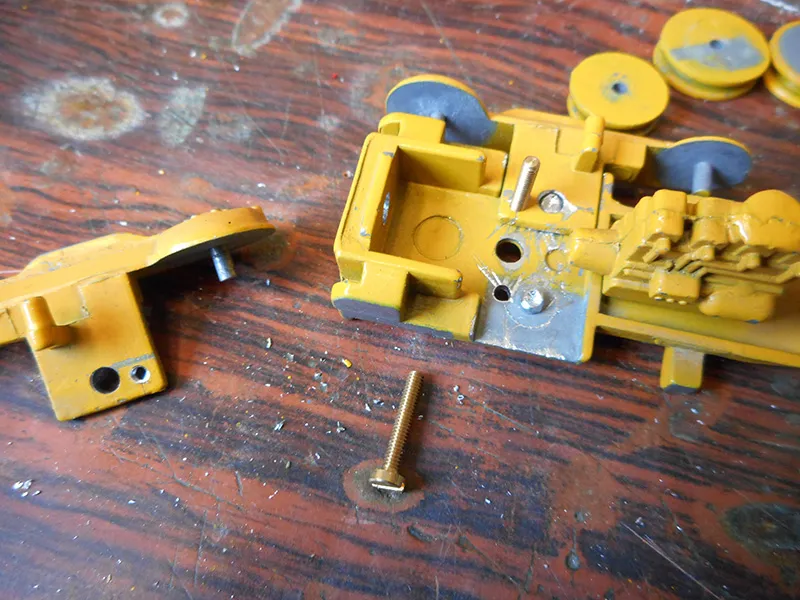
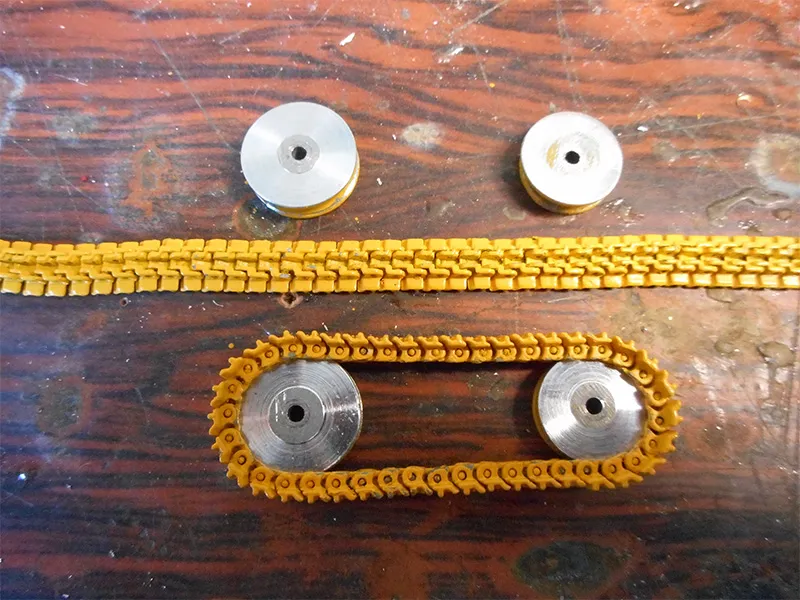
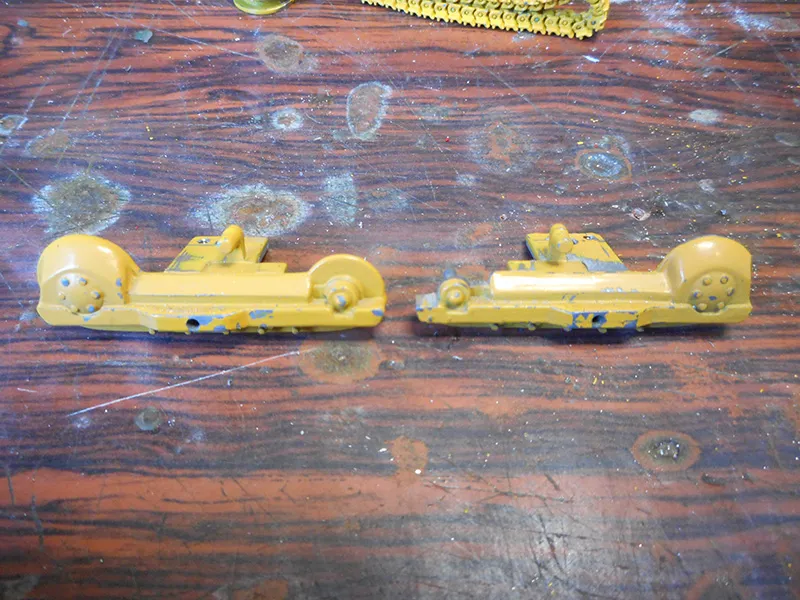
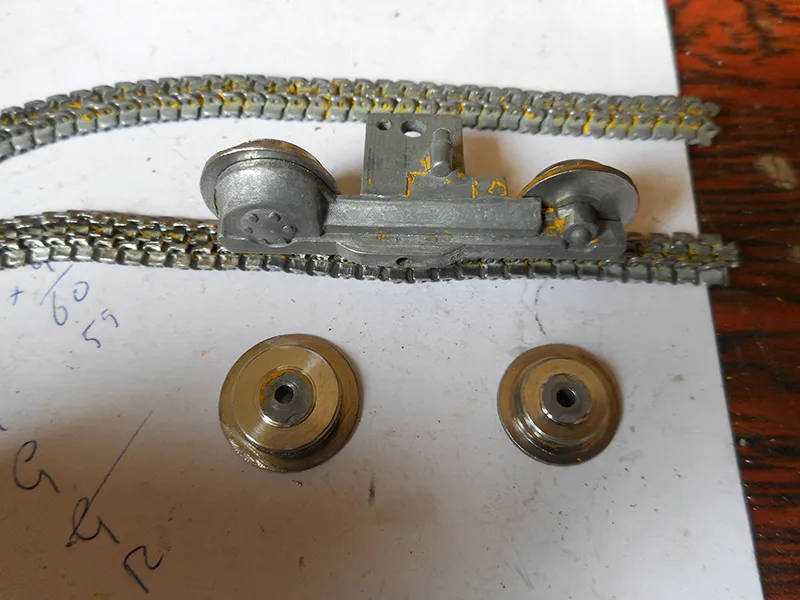
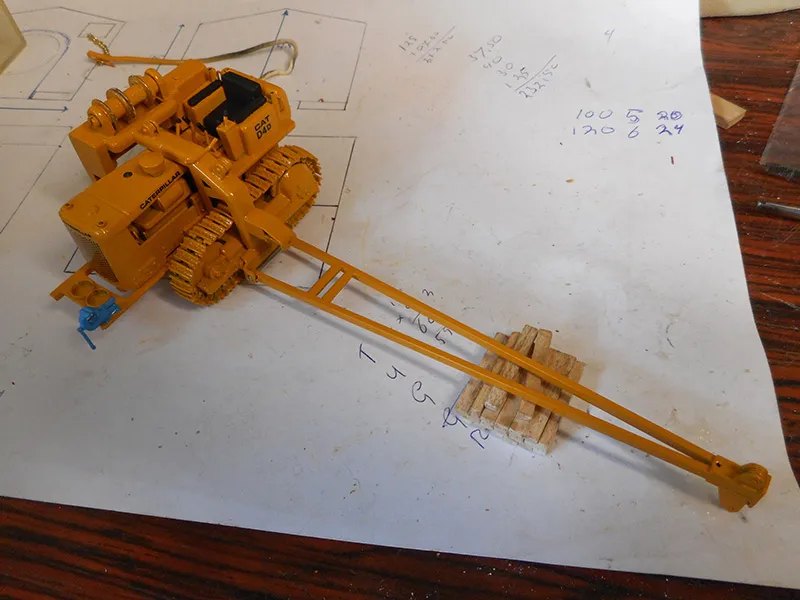
The last step of the build-up phase is to test fit all the original and customized parts and after this finall test to clean up all the parts again with some lukewarm warm water provided with a little ammonia for degreasing.
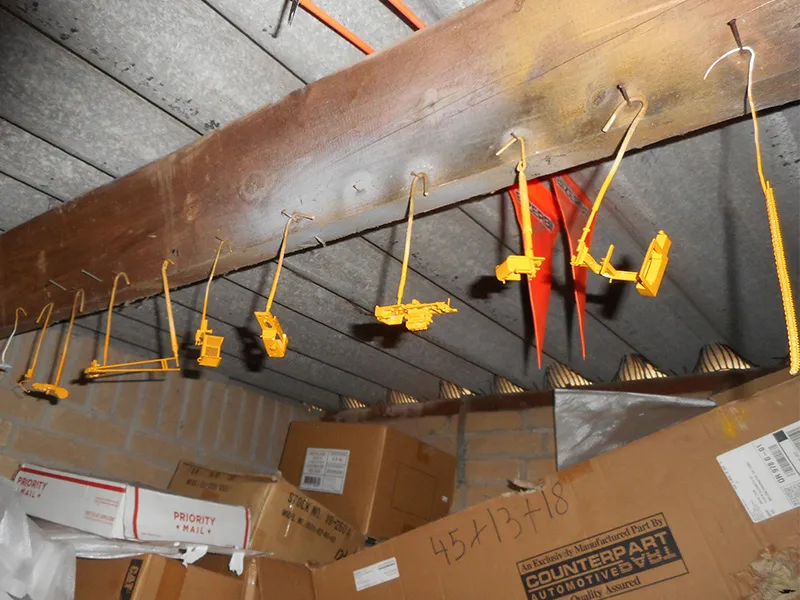
After thoroughly cleaning with some lukewarm water with a little ammonia for degreasing let all parts, preferably at room temperature or even warmer dry. If necessary, place all parts briefly on a rack above the heating so the spray primer and paint adhere well directly on the resin or metal parts.
As a priming coat all parts are first put in the spray primer. Often this is a gray primer or a gray primer in which already has been added and mixed some drops of yellow paint to create the perfect ground layer to spray on your final color.
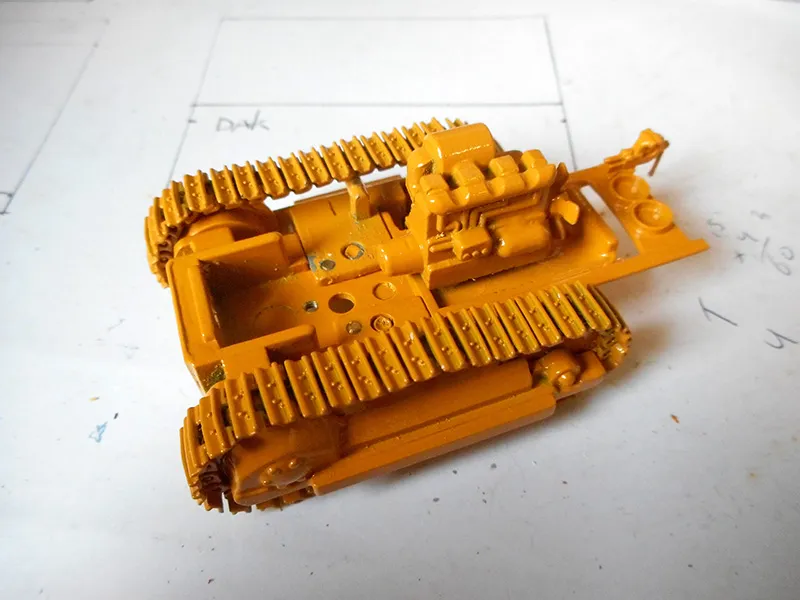
After spraying of the parts in the final paint layer, in this case, of course in original Caterpillar yellow, take enough time in order to let all parts under ideal conditions dry and curing. So keep your freshly painted parts free from dust under a dome or a keep them in a fully enclosed space. Preferably not in a cold hobby barn, but at a slightly warm room temperature to achieve the best adhesion of the paint.
So how difficult it might be, Do not touch! Do not waste all your work if you start to quick with the final assembly. Please kind in mind that how great the temptation is: Hands off!
After keeping sufficiënt drying time Gertjan finally may start with the trial fitting of the painted parts.
During the assembling of the components it will be necessary to carefully scratch away some new added varnish for the perfect fit. Followed by finally reconnecting and assembling the painted parts to each other with the original screws or some glue.
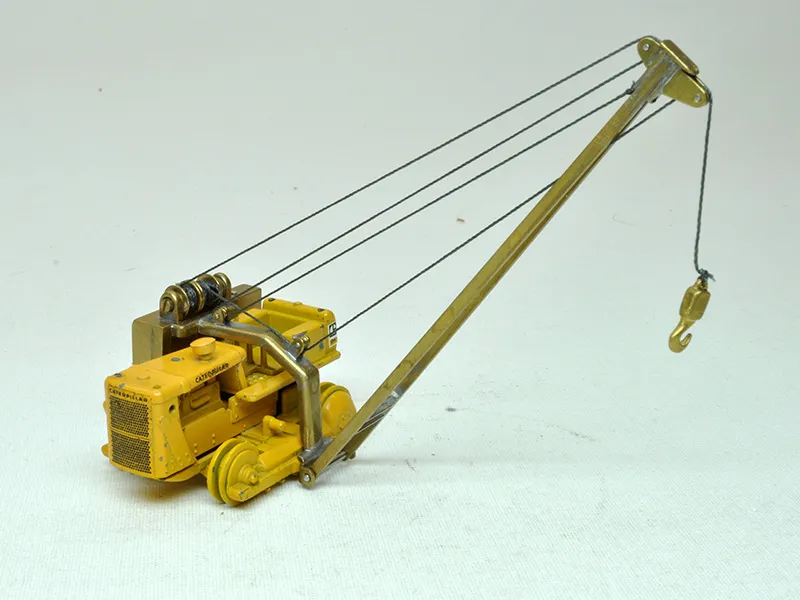
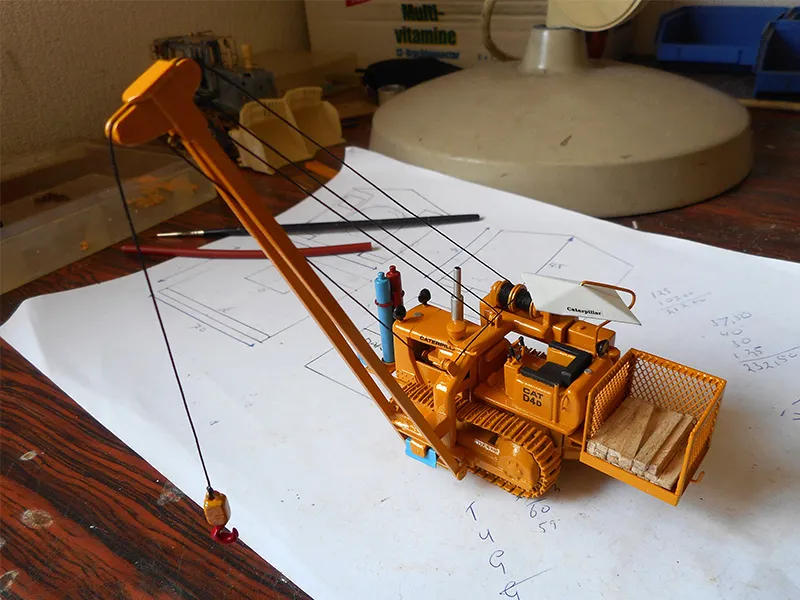
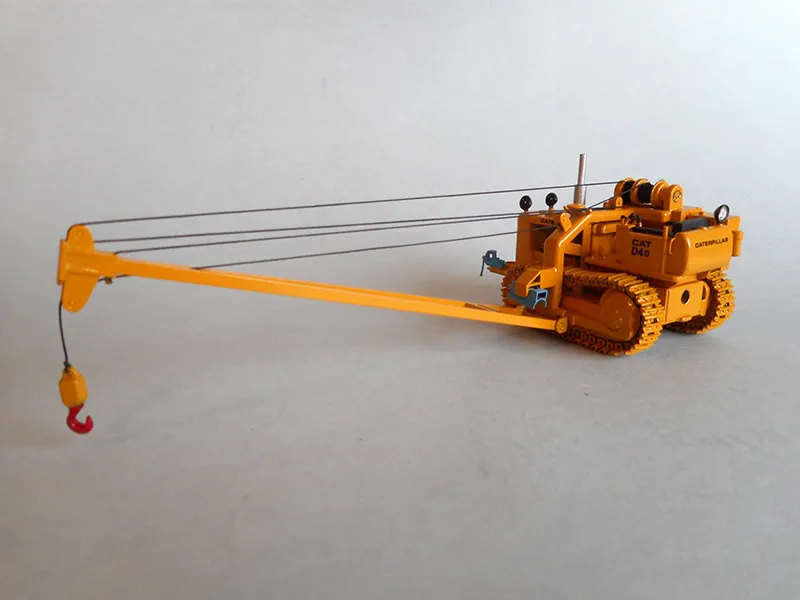
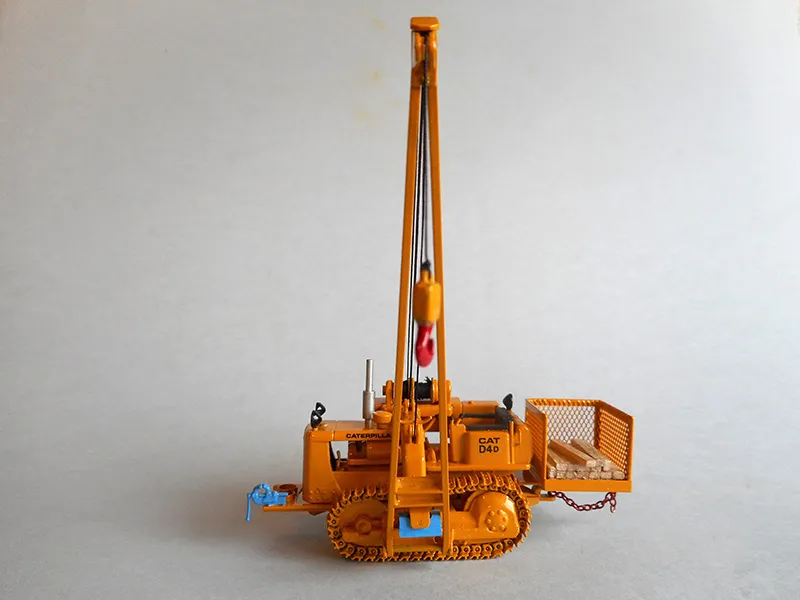
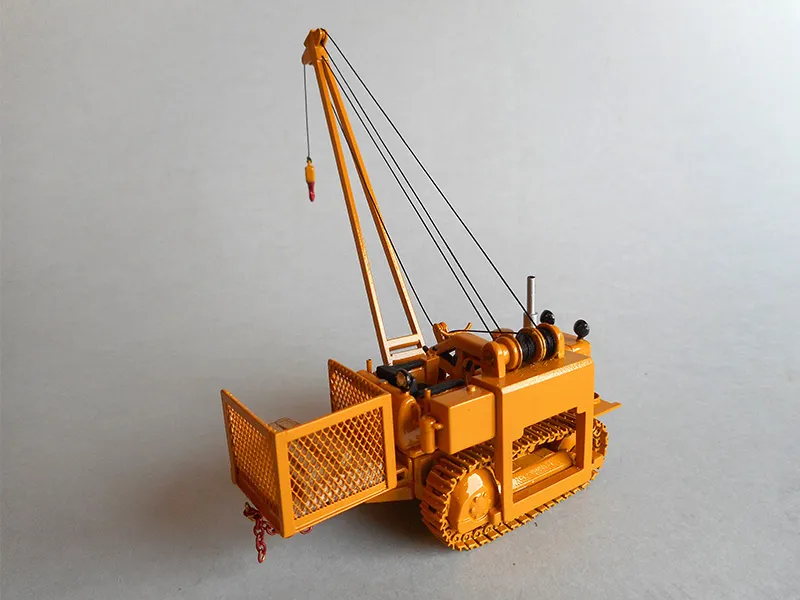
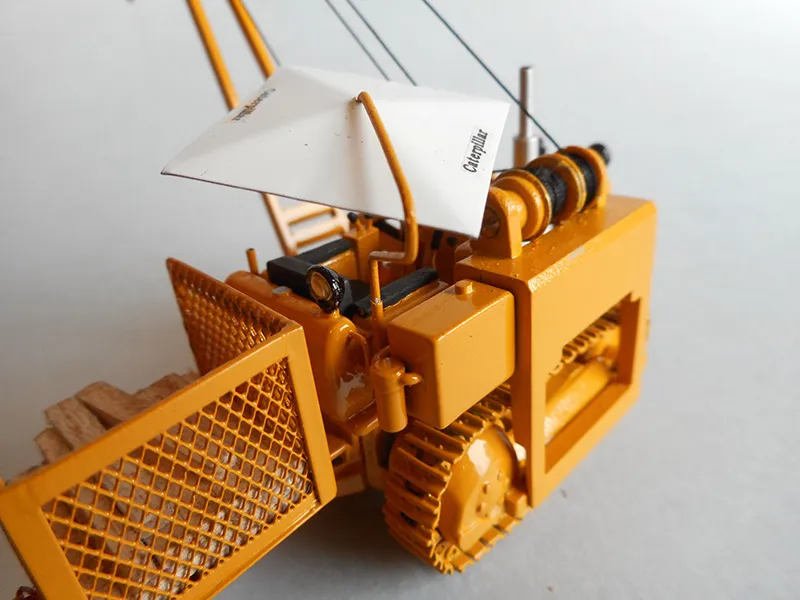
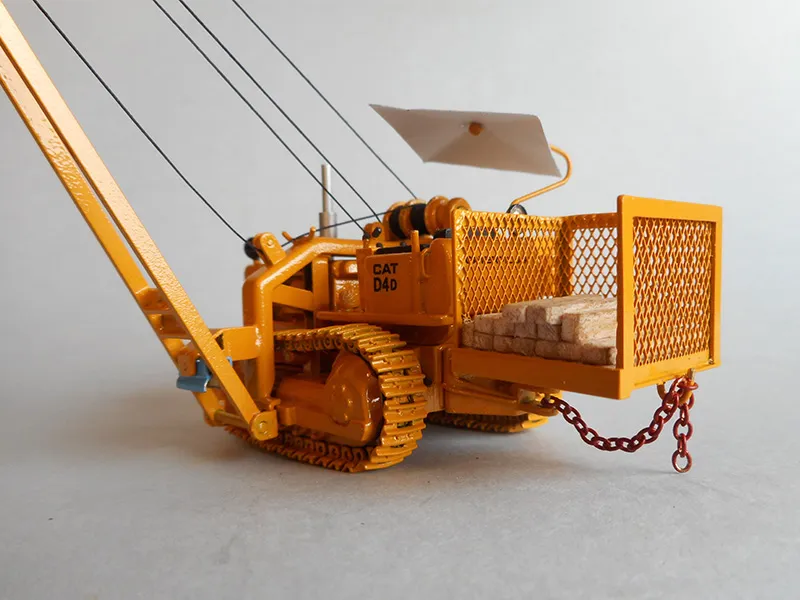
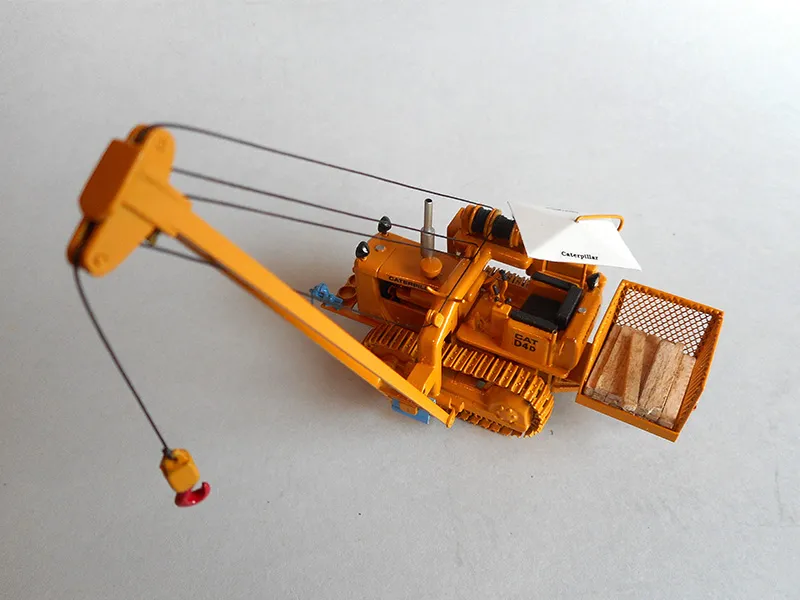
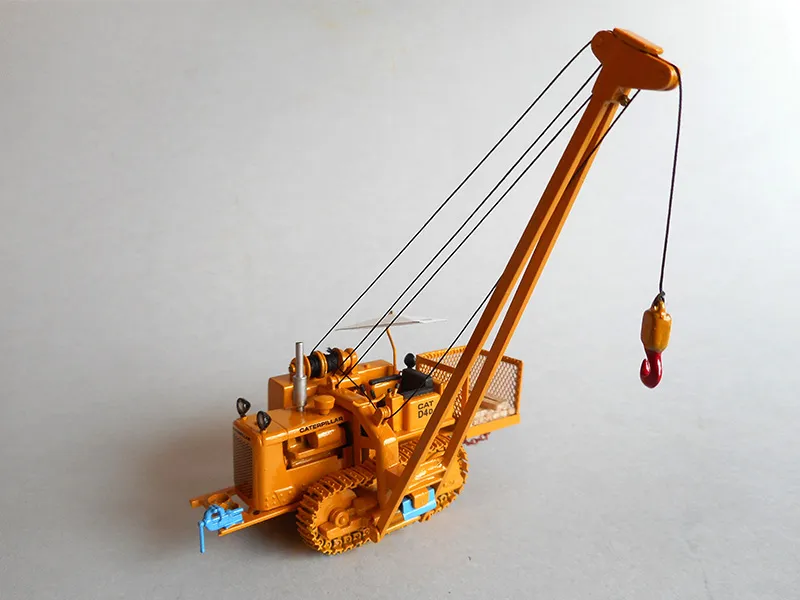
The Finall Step
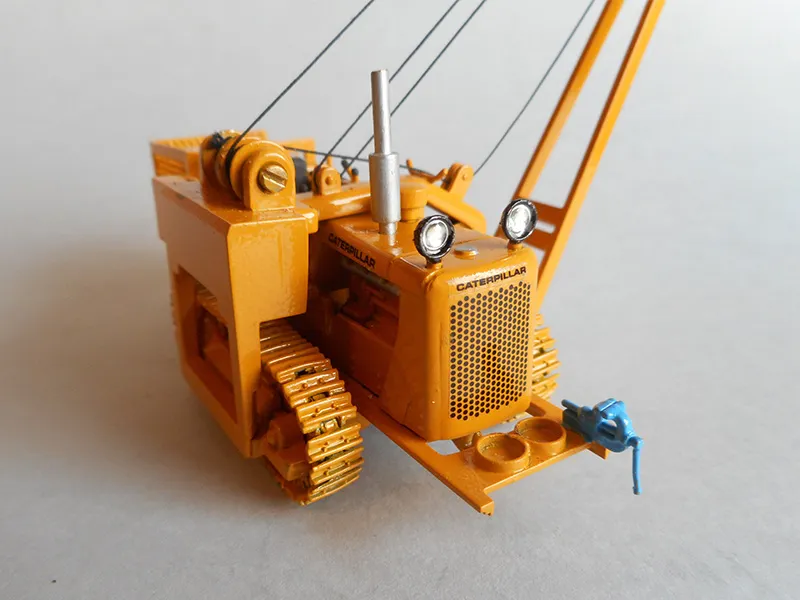
The Worklights
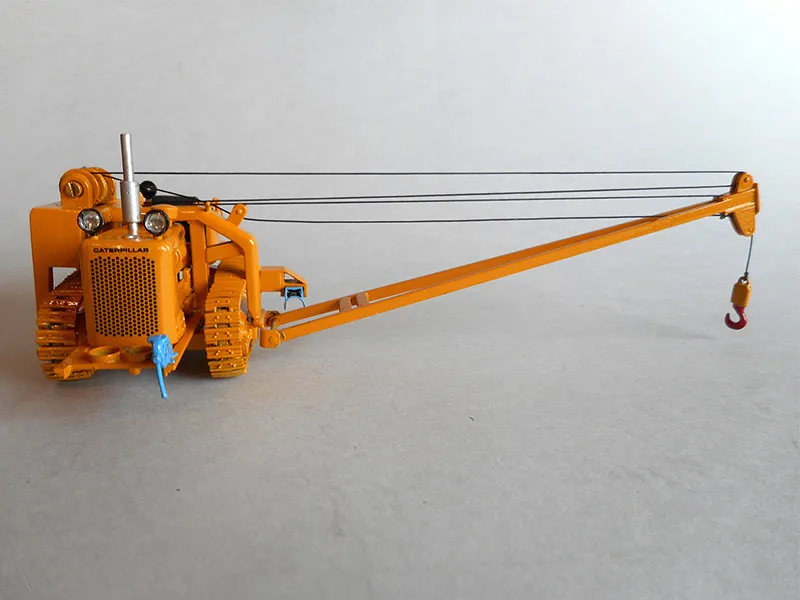
Done!
Now the model is "Ready for work" and it can put on transport and be added to the collection in my display cabinet.